Train a Mask R-CNN model with the Tensorflow Object Detection API
Create a custom Mask R-CNN model with the Tensorflow Object Detection API.
This article will teach you how to train a Mask R-CNN model with the Tensorflow Object Detection API and Tensorflow 2. If you want to use Tensorflow 1 instead, check out the tf1 branch of my Github repository.
Installation
You can install the TensorFlow Object Detection API either with Python Package Installer (pip) or Docker, an open-source platform for deploying and managing containerized applications. For running the Tensorflow Object Detection API locally, Docker is recommended. If you aren't familiar with Docker though, it might be easier to install it using pip.
First clone the master branch of the Tensorflow Models repository:
git clone https://github.com/tensorflow/models.gitDocker Installation
# From the root of the git repository (inside the models directory)
docker build -f research/object_detection/dockerfiles/tf2/Dockerfile -t od .
docker run -it od
Python Package Installation
cd models/research
# Compile protos.
protoc object_detection/protos/*.proto --python_out=.
# Install TensorFlow Object Detection API.
cp object_detection/packages/tf2/setup.py .
python -m pip install .
Note: The *.proto designating all files does not work protobuf version 3.5 and higher. If you are using version 3.5, you have to go through each file individually. To make this easier, I created a python script that loops through a directory and converts all proto files one at a time.
import os
import sys
args = sys.argv
directory = args[1]
protoc_path = args[2]
for file in os.listdir(directory):
    if file.endswith(".proto"):
        os.system(protoc_path+" "+directory+"/"+file+" --python_out=.")
python use_protobuf.py <path to directory> <path to protoc file>To test the installation run:
python object_detection/builders/model_builder_tf2_test.pyIf everything was installed correctly, you should see something like:
...
[       OK ] ModelBuilderTF2Test.test_create_ssd_models_from_config
[ RUN      ] ModelBuilderTF2Test.test_invalid_faster_rcnn_batchnorm_update
[       OK ] ModelBuilderTF2Test.test_invalid_faster_rcnn_batchnorm_update
[ RUN      ] ModelBuilderTF2Test.test_invalid_first_stage_nms_iou_threshold
[       OK ] ModelBuilderTF2Test.test_invalid_first_stage_nms_iou_threshold
[ RUN      ] ModelBuilderTF2Test.test_invalid_model_config_proto
[       OK ] ModelBuilderTF2Test.test_invalid_model_config_proto
[ RUN      ] ModelBuilderTF2Test.test_invalid_second_stage_batch_size
[       OK ] ModelBuilderTF2Test.test_invalid_second_stage_batch_size
[ RUN      ] ModelBuilderTF2Test.test_session
[  SKIPPED ] ModelBuilderTF2Test.test_session
[ RUN      ] ModelBuilderTF2Test.test_unknown_faster_rcnn_feature_extractor
[       OK ] ModelBuilderTF2Test.test_unknown_faster_rcnn_feature_extractor
[ RUN      ] ModelBuilderTF2Test.test_unknown_meta_architecture
[       OK ] ModelBuilderTF2Test.test_unknown_meta_architecture
[ RUN      ] ModelBuilderTF2Test.test_unknown_ssd_feature_extractor
[       OK ] ModelBuilderTF2Test.test_unknown_ssd_feature_extractor
----------------------------------------------------------------------
Ran 20 tests in 91.767s

OK (skipped=1)
Gathering data
Now that the Tensorflow Object Detection API is ready to go, we need to gather the necessary images for training.
To train a robust model, we need lots of pictures that should vary as much as possible from each other. That means that they should have different lighting conditions, different backgrounds, and lots of random objects in them.
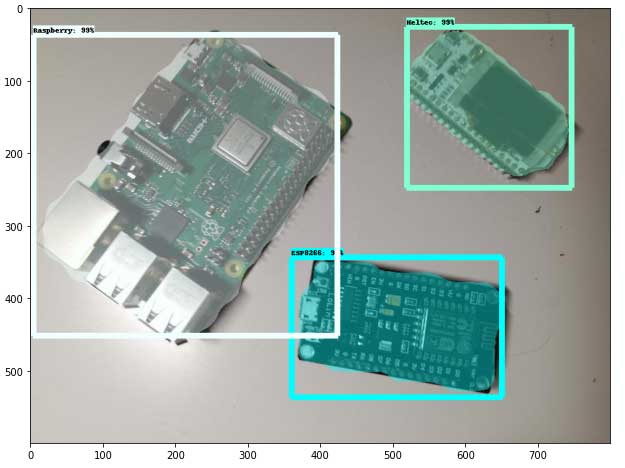
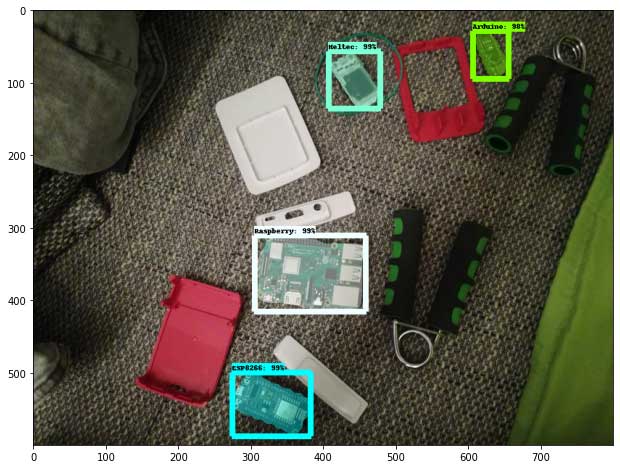
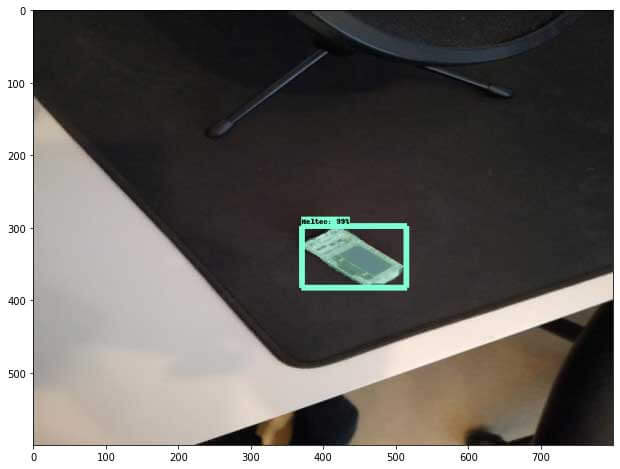
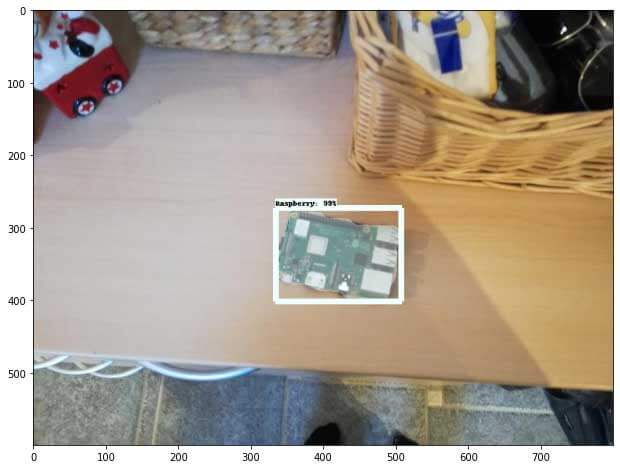
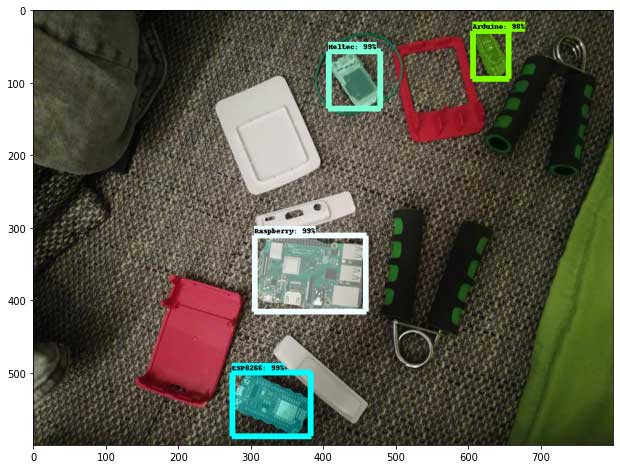
You can either take the pictures yourself or download pictures from the internet. For my microcontroller detector, I have four different objects I want to detect (Arduino Nano, ESP8266, Raspberry Pi 3, Heltect ESP32 Lora).
I took about 25 pictures of each microcontroller and 25 pictures containing multiple microcontrollers using my smartphone.
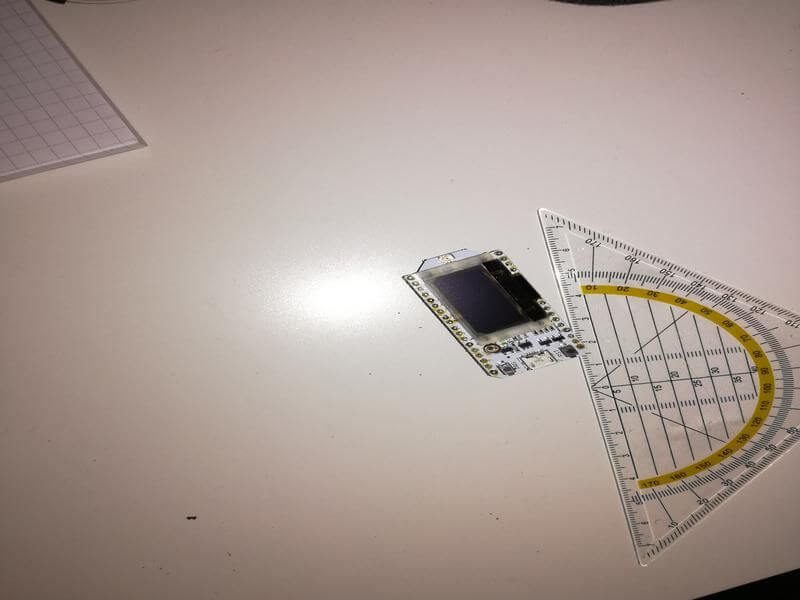
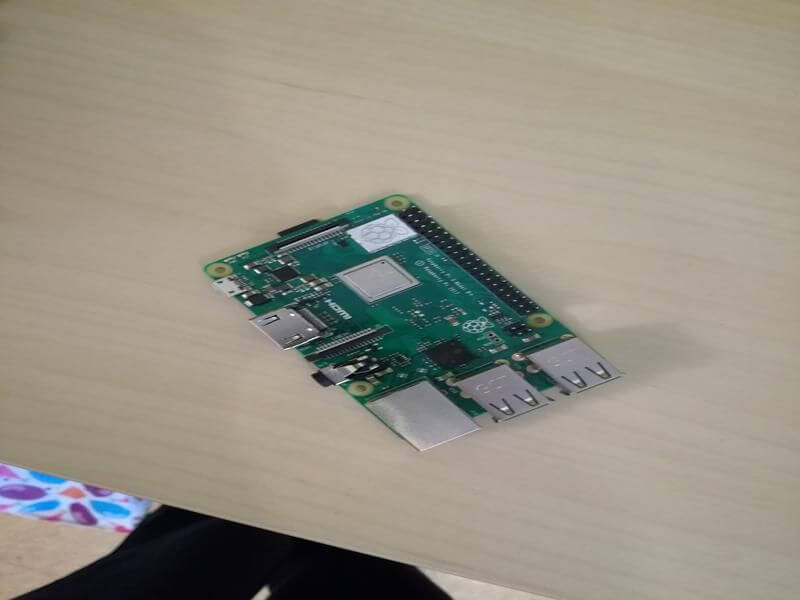
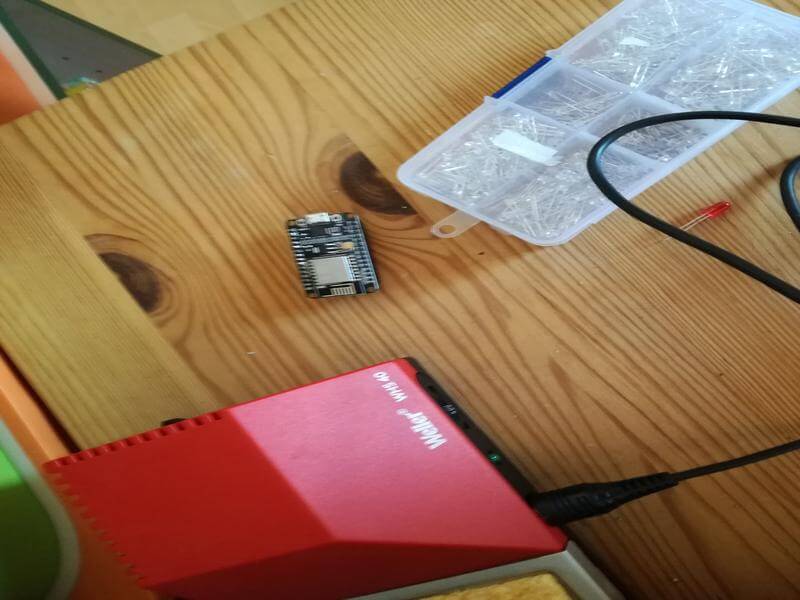
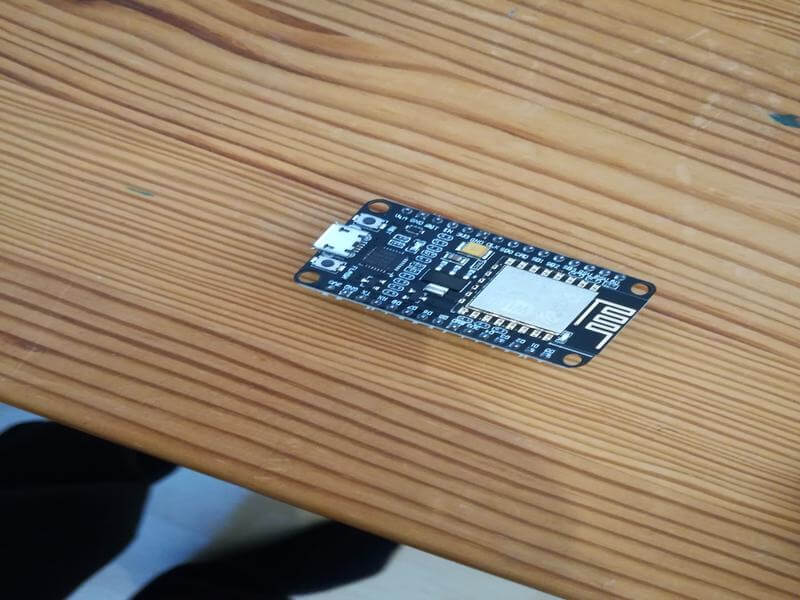
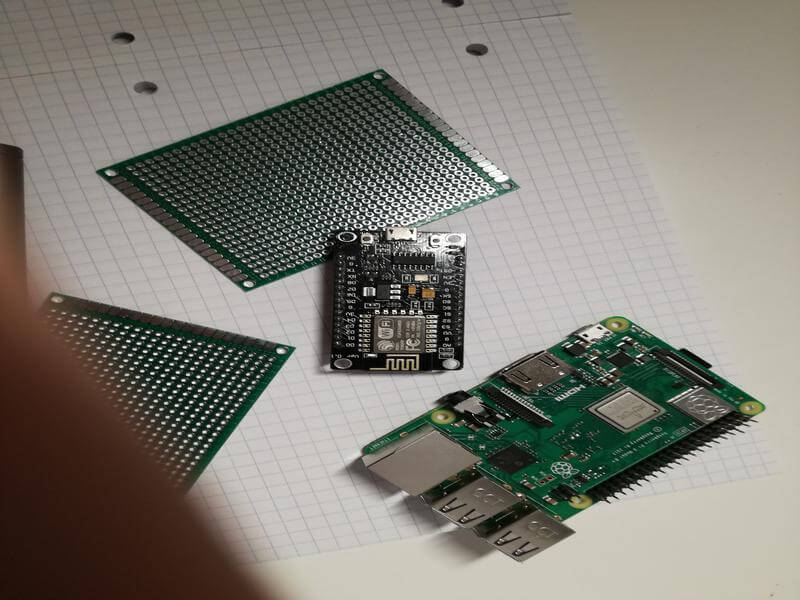
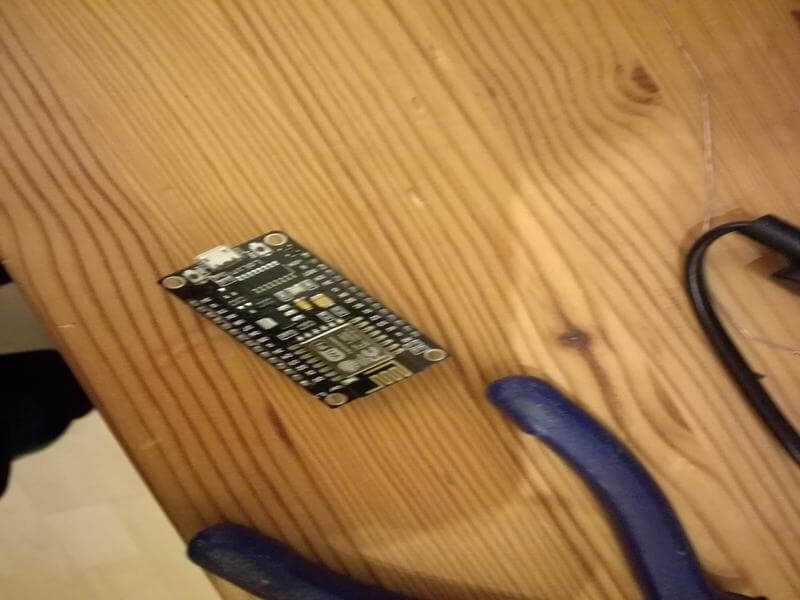
After taking the pictures, make sure to transform them to a resolution suitable for training (I used 800x600).
You can use the resize images script to resize the image to the wanted resolution.
python resize_images.py -d images/ -s 800 600After you have all the images, move about 80% to the object_detection/images/train directory and the other 20% to the object_detection/images/test directory. Ensure that the images in both directories have a good variety of classes.
Labeling data
After gathering enough images, it's time to label them so your model knows what to learn. To label the data, you will need to use a labeling software.
For object detection, we used LabelImg, an excellent image annotation tool supporting both PascalVOC and Yolo format. For Image Segmentation/Instance Segmentation, there are multiple great annotation tools available, including, VGG Image Annotation Tool, labelme, and PixelAnnotationTool. I chose labelme because of its simplicity to both install and use.
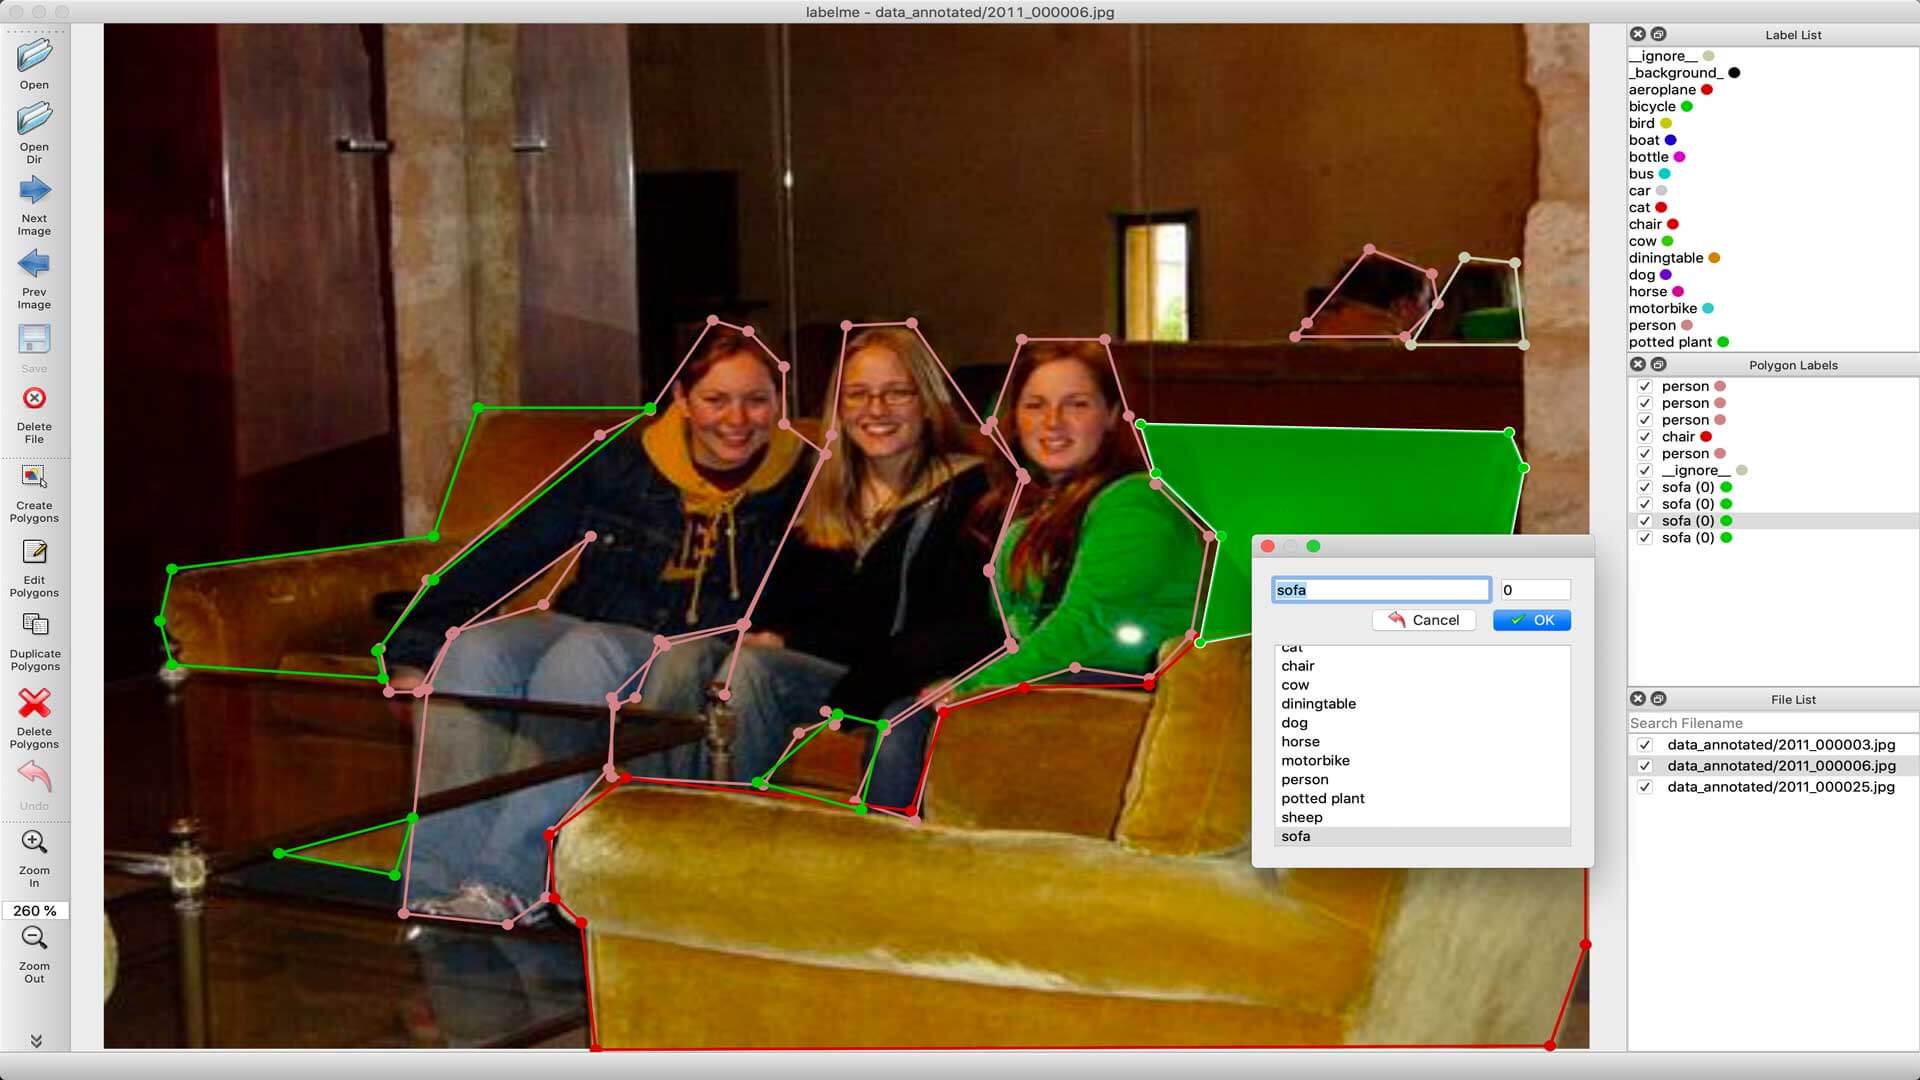
Labelme can be installed using pip:
pip install labelmeAfter installing Labelme, you can start it by typing labelme inside the command line. Now you can click on "Open Dir", select the folder with the images inside, and start labeling your images.
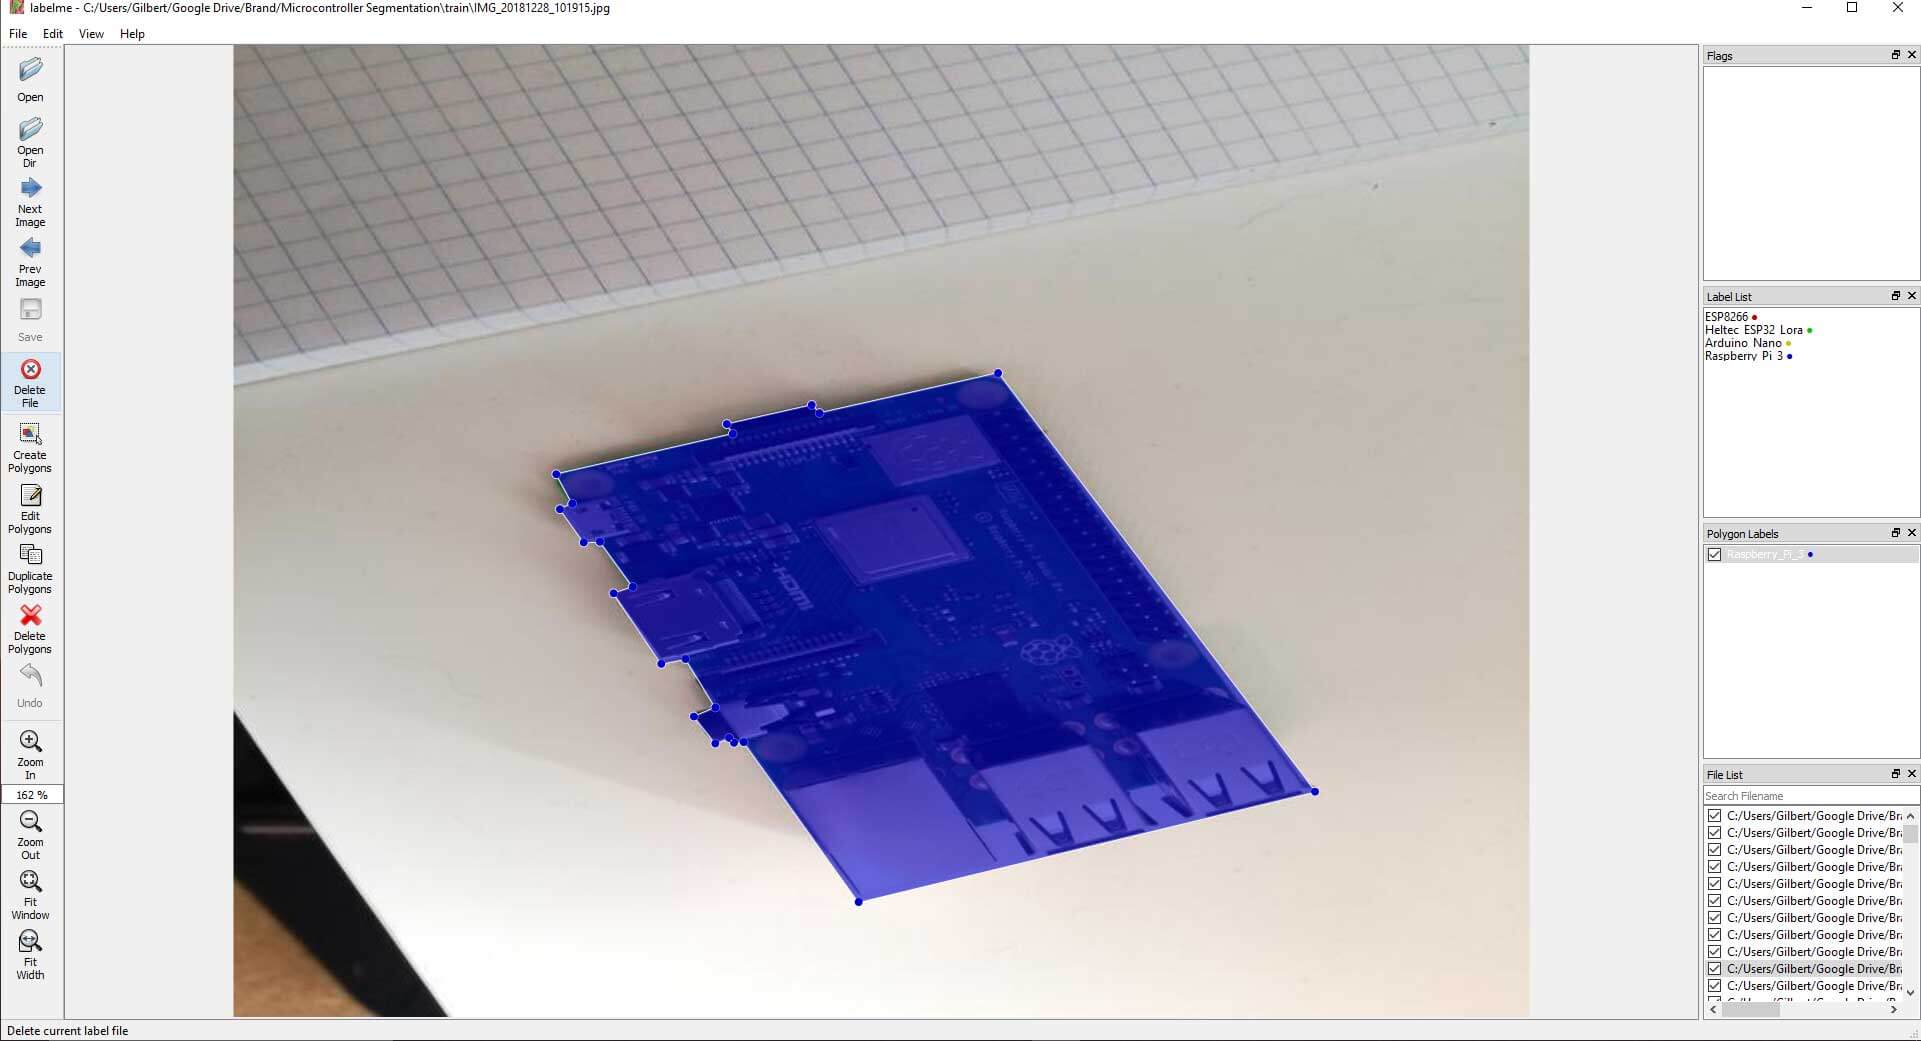
Generating Training data
With the images labeled, we need to create TFRecords that can be served as input data for the training of the model. Before we create the TFRecord files, we'll convert the labelme labels into COCO format. This can be done with the labelme2coco.py script.
python labelme2coco.py train --output train.json
python labelme2coco.py test --output test.json
Now that the data is in COCO format, we can create the TFRecord files. For this, we'll use the create_coco_tf_record.py file from my Github repository, which is a slightly modified version of the original create_coco_tf_record.py file.
python create_coco_tf_record.py --logtostderr --train_image_dir=images/train --test_image_dir=images/test --train_annotations_file=images/train.json --test_annotations_file=images/test.json --include_masks=True --output_dir=./After executing this command, you should have a train.record and test.record file inside your object detection folder.
Getting ready for training
The last thing we need to do before training is to create a label map and a training configuration file.
Creating a label map
The label map maps an id to a name. We will put it in a folder called training, which is located in the object_detection directory. The labelmap for my detector can be seen below.
item {
    id: 1
    name: 'Arduino'
}
item {
    id: 2
    name: 'ESP8266'
}
item {
    id: 3
    name: 'Heltec'
}
item {
    id: 4
    name: 'Raspberry'
}
The id number of each item should match the ids inside the train.json and test.json files.
"categories": [
    {
        "supercategory": "Arduino",
        "id": 0,
        "name": "Arduino"
    },
    {
        "supercategory": "ESP8266",
        "id": 1,
        "name": "ESP8266"
    },
    {
        "supercategory": "Heltec",
        "id": 2,
        "name": "Heltec"
    },
    {
        "supercategory": "Raspberry",
        "id": 3,
        "name": "Raspberry"
    }
],
Creating the training configuration
Lastly, we need to create a training configuration file. At the moment, only one Mask-RCNN model is supported with Tensorflow 2.
| Model name | Speed (ms) | COCO mAP | Outputs |
|---|---|---|---|
| Mask R-CNN Inception ResNet V2 1024x1024 | 301 | 39.0/34.6 | Boxes/Masks |
The base config for the model can be found inside the configs/tf2 folder.
Copy the config file to the training directory. Then open it inside a text editor and make the following changes:
- Line 12: change the number of classes to the number of objects you want to detect (4 in my case)
- Line 125: change
fine_tune_checkpointto the path of the model.ckpt file:
fine_tune_checkpoint: "<path>/mask_rcnn_inception_resnet_v2_1024x1024_coco17_gpu-8/checkpoint/ckpt-0"- Line 126: Change
fine_tune_checkpoint_typeto detection - Line 136: change
input_pathto the path of the train.record file:
input_path: "<path>/train.record"- Line 156: change
input_pathto the path of the test.record file:
input_path: "<path>/test.record"- Line 134 and 152: change
label_map_pathto the path of the label map:
label_map_path: "<path>/labelmap.pbtxt"Line 107 and 147: change batch_size to a number appropriate for your hardware, like 4, 8, or 16.
Training the model
To train the model, run the following command in the command line:
python model_main_tf2.py --pipeline_config_path=training/mask_rcnn_inception_resnet_v2_1024x1024_coco17_gpu-8.config --model_dir=training --alsologtostderrIf everything was setup correctly, the training should begin shortly, and you should see something like the following:

Every few minutes, the current loss gets logged to Tensorboard. Open Tensorboard by opening a second command line, navigating to the object_detection folder, and typing:
tensorboard --logdir=trainingThis will open a webpage at localhost:6006.

The training script saves checkpoints about every five minutes. Train the model until it reaches a satisfying loss. Then you can terminate the training process by pressing Ctrl+C.
Exporting the inference graph
Now that we have a trained model, we need to generate an inference graph that can be used to run the model.
python exporter_main_v2.py \
    --trained_checkpoint_dir training \
    --output_directory inference_graph \
    --pipeline_config_path training/mask_rcnn_inception_resnet_v2_1024x1024_coco17_gpu-8.config
Result
