Last year at the Google Next conference, Google announced that they are building two new hardware products around their Edge TPUs. Their purpose is to allow edge devices like the Raspberry Pi or other microcontrollers to exploit the power of artificial intelligence applications such as image classification and object detection by enabling them to run inference of pre-trained Tensorflow Lite models locally on their own hardware. This is not only more secure than having a cloud server that serves machine-learning requests, but it also can reduce latency quite a bit.
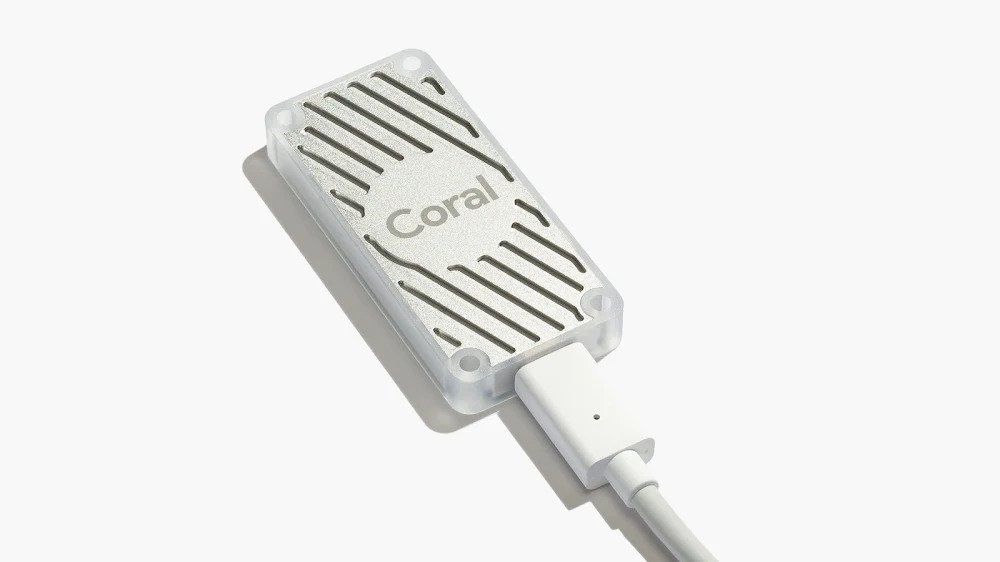
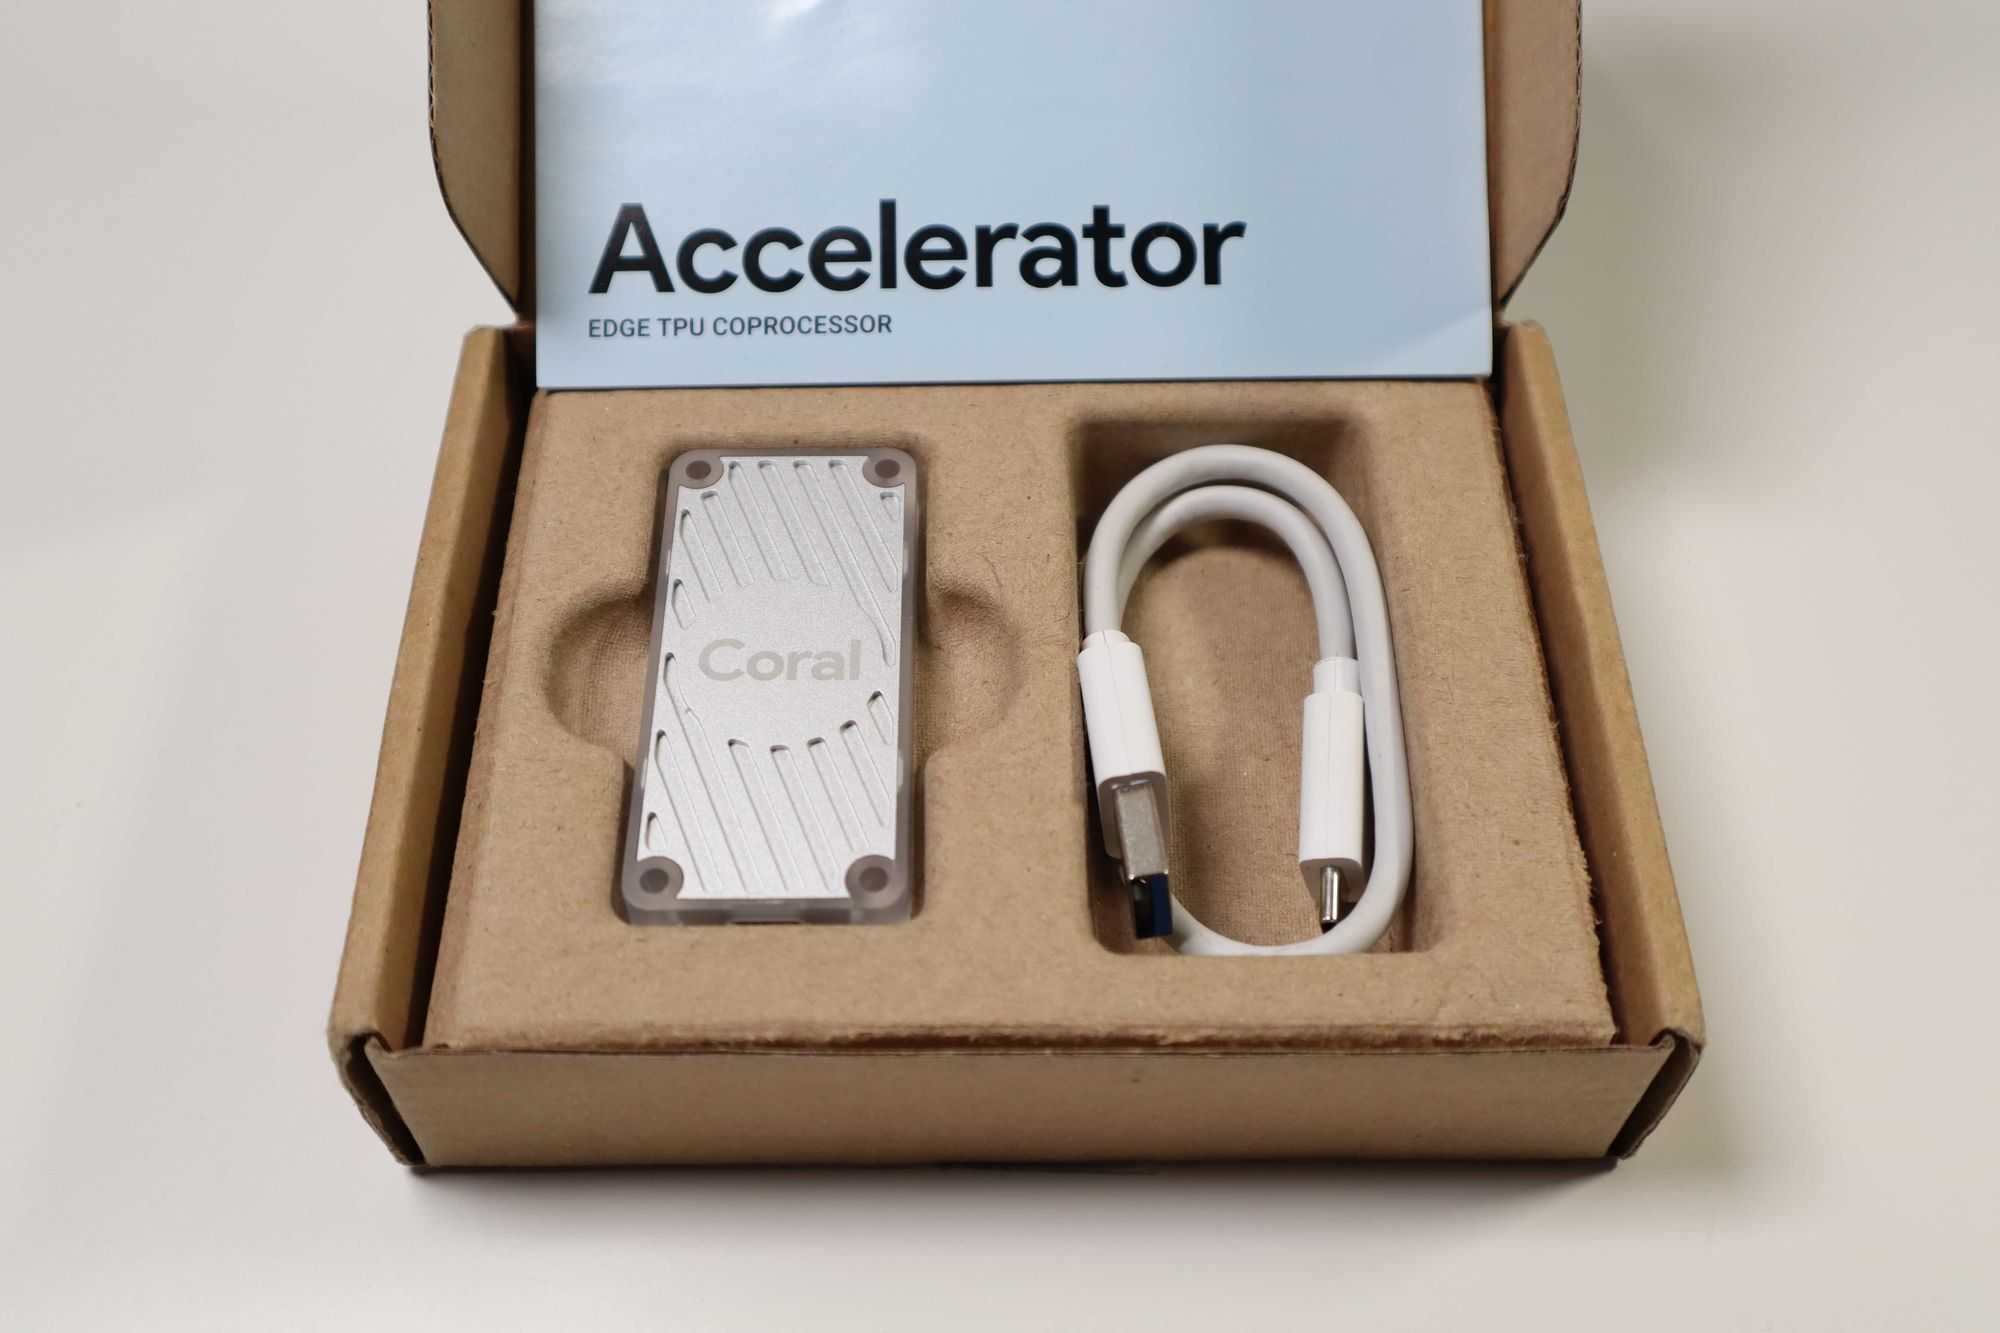
The Coral USB Accelerator
The Coral USB Accelerator comes in at 65x30x8mm, making it slightly smaller than its competitor, the Intel Movidius Neural Compute Stick. At first, this doesn't seem like a big deal, but if you consider that the Intel Stick tends to block nearby USB ports making it hard to use peripherals, it makes quite a difference.
The Coral USB Accelerator comes in at 60€ (previously 75€) and can be ordered through websites, including:
On the hardware side, it contains an Edge Tensor Processing Unit (TPU), which provides fast inference for deep learning models at comparably low power consumption.
The USB Accelerator work with one of the following operating systems:
- Linux Debian 10 or a derivative thereof (such as Ubuntu 18.04 or Raspbian)
- macOS, with either MacPorts or Homebrew installed
- Windows 10
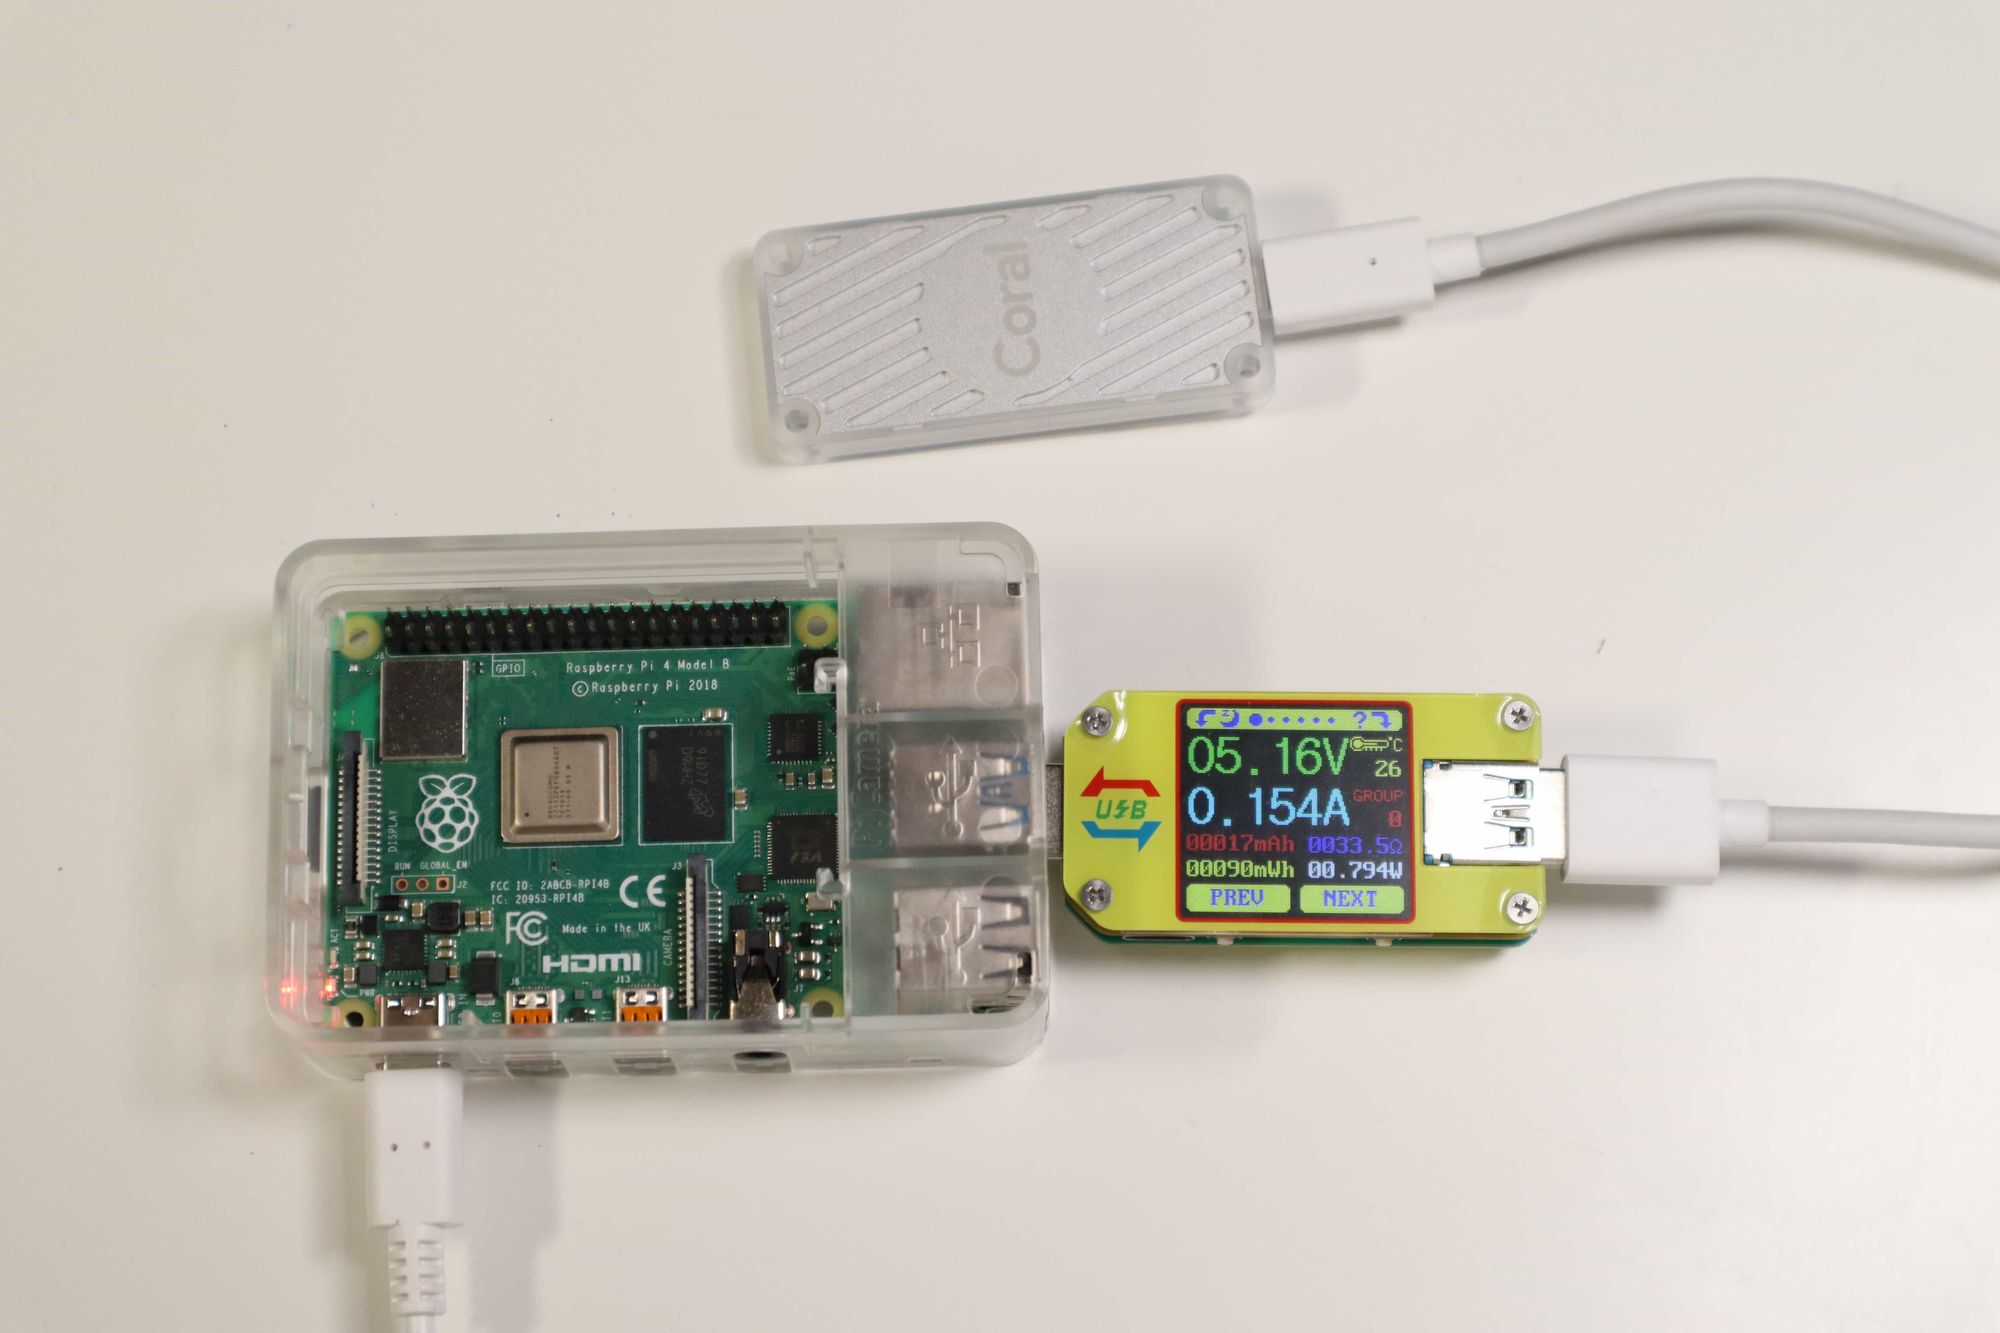
It works best when connected over USB 3.0 even though it can also be used with USB 2.0 and, therefore, can also be used with a microcontroller like the Raspberry Pi 3, which doesn't offer any USB 3 ports.
Speed difference on getting started example (first measurement excluded because of model load time):
| USB Type | Speed (ms) |
|---|---|
| USB 3 | 4.4 |
| USB 2 | 12.5 |
Setup
The setup of the Coral USB Accelerator is pain-free. The getting started instructions available on the official website worked like a charm on both my Raspberry Pi and PC, and it was ready to run after only a few minutes.
1: Install the Edge TPU runtime
The Edge TPU runtime provides the core programming interface for the Edge TPU.
Linux
First, add the Debian package repository to your system:
echo "deb https://packages.cloud.google.com/apt coral-edgetpu-stable main" | sudo tee /etc/apt/sources.list.d/coral-edgetpu.list

curl https://packages.cloud.google.com/apt/doc/apt-key.gpg | sudo apt-key add -

sudo apt-get update
Then, install the Edge TPU runtime:
sudo apt-get install libedgetpu1-std
The above command installs the default Edge TPU runtime, which operates at a reduced clock frequency. If you want to run your Coral USB Accelerator at maximum clock frequency, run the below command instead:
sudo apt-get install libedgetpu1-max
This is only recommended if you really need the maximum power, as the USB Accelerator's metal can become very hot to the touch when you're running in max mode.
Speed difference on getting started example (first measurement excluded because of model load time):
| Standard | Maximum | |
|---|---|---|
| USB 3 | 4.4ms | 3.7ms |
| USB 2 | 12.5ms | 10.5ms |
Now connect the USB Accelerator to your computer using the provided USB 3.0 cable. If you already had it plugged in while installing, remove it and replug it so the newly-installed udev rule can take effect.
macOS
First, download and unpack the Edge TPU runtime:
curl -LO https://github.com/google-coral/libedgetpu/releases/download/release-grouper/edgetpu_runtime_20220308.zip

unzip edgetpu_runtime_20220308.zip
Then install the Edge TPU runtime:
cd edgetpu_runtime

sudo bash install.sh
The installation script will ask you whether you want to enable the maximum operating frequency. As mentioned above, I'd recommend only using the maximum operating frequency if really necessary.
Now connect the USB Accelerator to your computer using the provided USB 3.0 cable. If you already had it plugged in while installing, remove it and replug it so the newly-installed udev rule can take effect.
Windows
First, make sure you have the latest version of the Microsoft Visual C++ 2019 redistributable.
Then, download the edgetpu_runtime_20220308.zip file, extract it, and double-click the install.bat file.
The installation script will ask you whether you want to enable the maximum operating frequency. As mentioned above, I'd recommend only using the maximum operating frequency if really necessary.
Now connect the USB Accelerator to your computer using the provided USB 3.0 cable. If you already had it plugged in while installing, remove it and replug it so the newly-installed udev rule can take effect.
2: Install the PyCoral Library
PyCoral is a Python library built on top of the TensorFlow Lite library to speed up your development and provide extra functionality for the Edge TPU.
To install the PyCoral library, use the following commands.
Linux
sudo apt-get install python3-pycoral
MacOS or Windows
python3 -m pip install --extra-index-url https://google-coral.github.io/py-repo/ pycoral~=2.0
Run a model using PyCoral
PyCoral is built on top of Tensorflow Lite and allows you to run Tensorflow Lite models on the Edge TPU without writing lots of boilerplate.
You can find examples of PyCoral for image classification, object detection, semantic segmentation, and other applications in the google-coral/pycoral repository.
To run the example image classification script, follow the below steps:
1. Download the example code from GitHub:
mkdir coral && cd coral

git clone https://github.com/google-coral/pycoral.git

cd pycoral
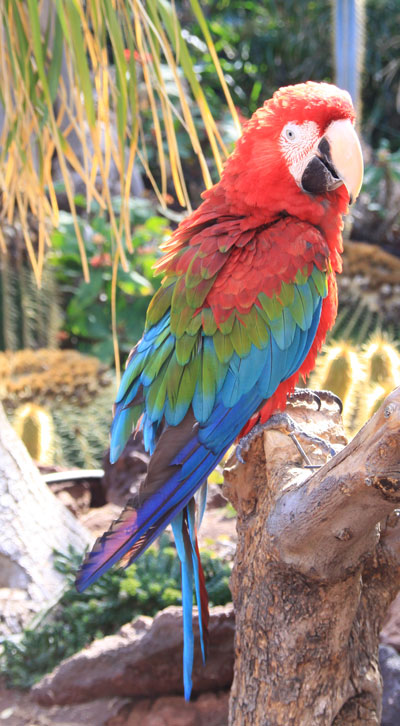
2. Download the bird classifier model, labels file, and a bird photo:
bash examples/install_requirements.sh classify_image.py
3. Run the image classifier on the bird photo:
python3 examples/classify_image.py \
--model test_data/mobilenet_v2_1.0_224_inat_bird_quant_edgetpu.tflite \
--labels test_data/inat_bird_labels.txt \
--input test_data/parrot.jpg

Run a model using the Tensorflow Lite API
You can also run Tensorflow Lite models without the PyCoral library. This offers more flexibility as it allows you to run the same code with and without an Edge TPU, but it also requires you to write more code to get it working.
To run a Tensorflow Lite model on the Edge TPU, create a tflite interpreter with the Edge TPU runtime library as a delegate:
import tflite_runtime.interpreter as tflite
interpreter = tflite.Interpreter(model_path,
  experimental_delegates=[tflite.load_delegate('libedgetpu.so.1')])
You can find examples of using this for image classification and object detection in the google-coral/tflite repository.
Go through the following steps to run the image classification example:
1. Download the example code from Github:
mkdir coral && cd coral

git clone https://github.com/google-coral/tflite.git
2. Download the bird classifier model, labels file, and a bird photo:
cd tflite/python/examples/classification

bash install_requirements.sh
3. Run the image classifier on the bird photo:
python3 classify_image.py \
--model models/mobilenet_v2_1.0_224_inat_bird_quant_edgetpu.tflite \
--labels models/inat_bird_labels.txt \
--input images/parrot.jpg
You should see results like this:
INFO: Initialized TensorFlow Lite runtime.
----INFERENCE TIME----
Note: The first inference on Edge TPU is slow because it includes loading the model into Edge TPU memory.
11.8ms
3.0ms
2.8ms
2.9ms
2.9ms
-------RESULTS--------
Ara macao (Scarlet Macaw): 0.76562
You can do the same for the object detection example:
cd tflite/python/examples/detection
bash install_requirements.sh
python3 detect_image.py \
--model models/mobilenet_ssd_v2_coco_quant_postprocess_edgetpu.tflite \
--labels models/coco_labels.txt \
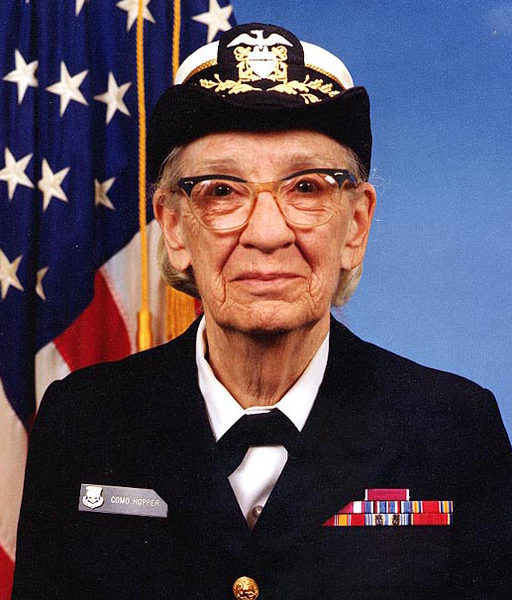
--input images/grace_hopper.bmp \
--output images/grace_hopper_processed.bmp
You should see results like this:
INFO: Initialized TensorFlow Lite runtime.
----INFERENCE TIME----
Note: The first inference is slow because it includes loading the model into Edge TPU memory.
33.92 ms
19.71 ms
19.91 ms
19.91 ms
19.90 ms
-------RESULTS--------
tie
  id:     31
  score:  0.83984375
  bbox:   BBox(xmin=228, ymin=421, xmax=293, ymax=545)
person
  id:     0
  score:  0.83984375
  bbox:   BBox(xmin=2, ymin=5, xmax=513, ymax=596)
Run a model using the Edge TPU Python API (deprecated)
The Edge TPU API (the edgetpu module) provides simple APIs that perform image classification and object detection. It's build on top of the TensorFlow Lite C++ API and abstracts-away a lot of the code required to handle input tensors and output tensors. The Edge TPU API also includes APIs to perform on-device transfer-learning with either weight imprinting or backpropagation. – Google Coral documentation
First, you'll have to install the Edge TPU Python library. On Mac or Windows, follow the instructions here. If you're using Linux, you can install the library with a Debian package (the examples are saved at /usr/share/edgetpu/examples):
sudo apt-get update

sudo apt-get install python3-edgetpu
You can run the examples the same way as the Tensorflow Lite examples, but they're using the Edge TPU library instead of Tensorflow Lite.
Run a model with the libcoral C++ library
The libcoral C++ library is built on top of the Tensorflow Lite C++ library. The libcoral library provides various convenience functions for boilerplate code that's required when executing models with TensorFlow Lite API.
To use the libcoral C++ library, you first need to install Bazel. After that, you can install the libcoral library as described in its README.
Inference example
int main(int argc, char* argv[]) {
  absl::ParseCommandLine(argc, argv);

  // Load the model.
  const auto model = coral::LoadModelOrDie(absl::GetFlag(FLAGS_model_path));
  auto edgetpu_context = coral::ContainsEdgeTpuCustomOp(*model)
                             ? coral::GetEdgeTpuContextOrDie()
                             : nullptr;
  auto interpreter = coral::MakeEdgeTpuInterpreterOrDie(*model, edgetpu_context.get());
  CHECK_EQ(interpreter->AllocateTensors(), kTfLiteOk);

  // Read the image to input tensor.
  auto input = coral::MutableTensorData<char>(*interpreter->input_tensor(0));
  coral::ReadFileToOrDie(absl::GetFlag(FLAGS_image_path), input.data(), input.size());
  CHECK_EQ(interpreter->Invoke(), kTfLiteOk);

  // Read the label file.
  auto labels = coral::ReadLabelFile(absl::GetFlag(FLAGS_labels_path));

  for (auto result : coral::GetClassificationResults(*interpreter, 0.0f, /*top_k=*/3)) {
    std::cout << "---------------------------" << std::endl;
    std::cout << labels[result.id] << std::endl;
    std::cout << "Score: " << result.score << std::endl;
  }
  return 0;
}
For more examples, check out the libcoral GitHub.
Building your own models
Even though Google offers many precompiled models that can be used with the USB Accelerator, you might want to run your custom models.
For this, you have multiple options. Instead of building your model from scratch, you could retrain an existing model that's already compatible with the Edge TPU, using transfer learning. For more details, check out official tutorials for retraining an image classification and object detection model. Using the guides, I created an image classifier and object detector for the Google Coral USB Accelerator.
If you prefer to train a model from scratch, you can certainly do so, but you need to look out for some restrictions you will have when deploying your model on the USB Accelerator.
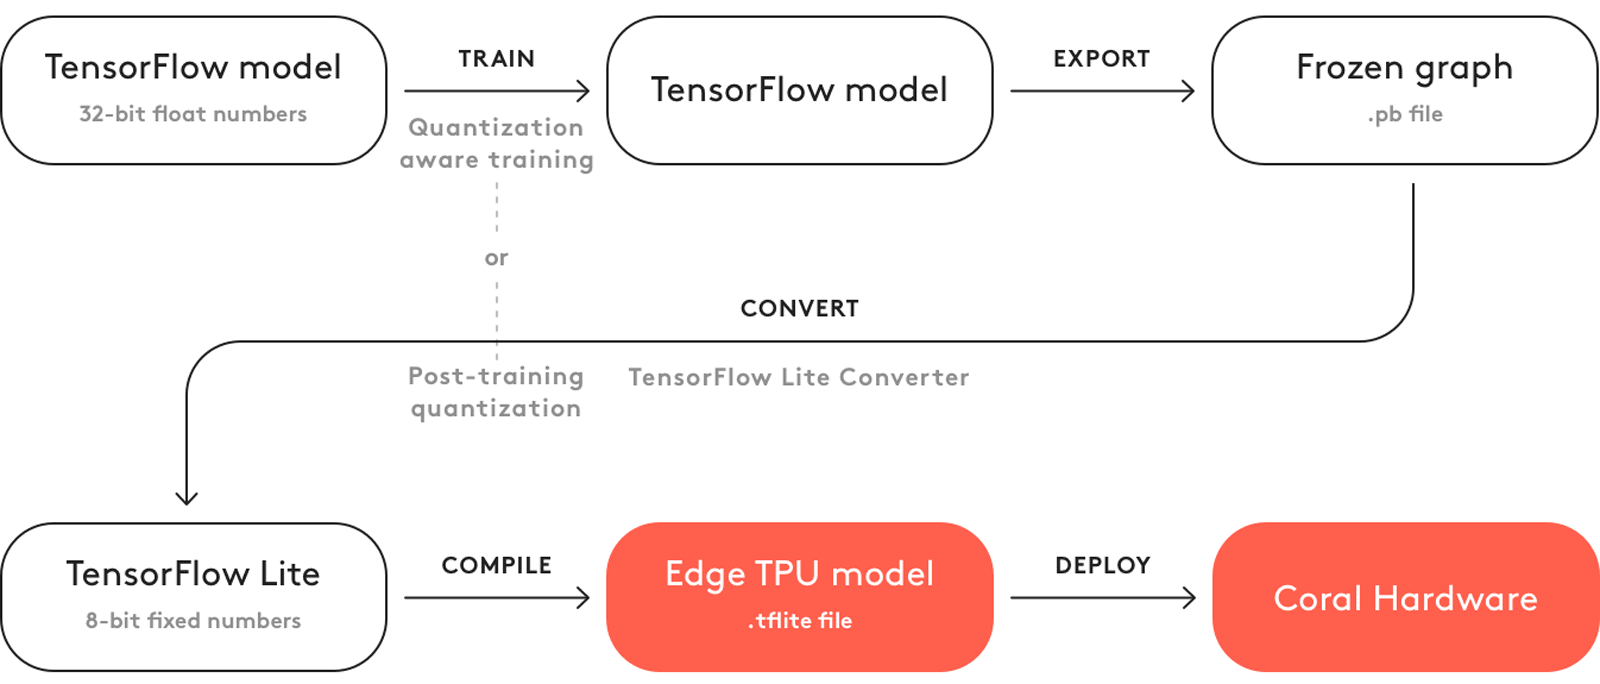
First, off you need to quantize your model. That means converting all the 32-bit floating-point numbers (such as weights and activation outputs) to the nearest 8-bit fixed-point numbers.
For compatibility with the Edge TPU, you must use either quantization-aware training (recommended) or full integer post-training quantization. For more information, check out the quantization section in the documentation.
After quantization, you need to convert your model from Tensorflow to Tensorflow Lite and compile it using the Edge TPU compiler.
Conclusion
The Google Coral USB Accelerator is an excellent piece of hardware that allows edge devices like the Raspberry Pi or other microcomputers to exploit the power of artificial intelligence applications. In addition, it has excellent documentation containing everything from the installation and demo applications to building your own model and a detailed Python API documentation.
That's all from this article. Thanks for reading. If you have any feedback, recommendations, or ideas about what I should cover next, feel free to contact me via EMAIL or social media.