
Streamlit is an open-source Python framework that allows you to create beautiful interactive websites for Machine Learning and Data Science projects without needing to have any web development skills.
It achieves this by allowing you to create a website by only adding a few Streamlit function calls to existing python projects/experiments. For more information, check out my first article on Streamlit, which walks you through how it works.
In this article, I want to show you how to deploy a Streamlit application with Heroku, a platform as a service (PaaS) allowing you to run applications written in multiple different programming languages – including Python and Ruby – on the cloud.
Building an example application
To show how to deploy a Streamlit application, we first need to create one. We will build a simple demo with three pages. A homepage that shows the data-set, an exploration page showing some basic data visualizations, and a modeling page.
import streamlit as st
import numpy as np
import pandas as pd
import matplotlib.pyplot as plt
import seaborn as sns
from sklearn.ensemble import RandomForestClassifier
from sklearn.model_selection import train_test_split
def main():
df = load_data()
page = st.sidebar.selectbox("Choose a page", ['Homepage', 'Exploration', 'Prediction'])
if page == 'Homepage':
st.title('Wine Alcohol Class Prediction')
st.text('Select a page in the sidebar')
st.dataframe(df)
elif page == 'Exploration':
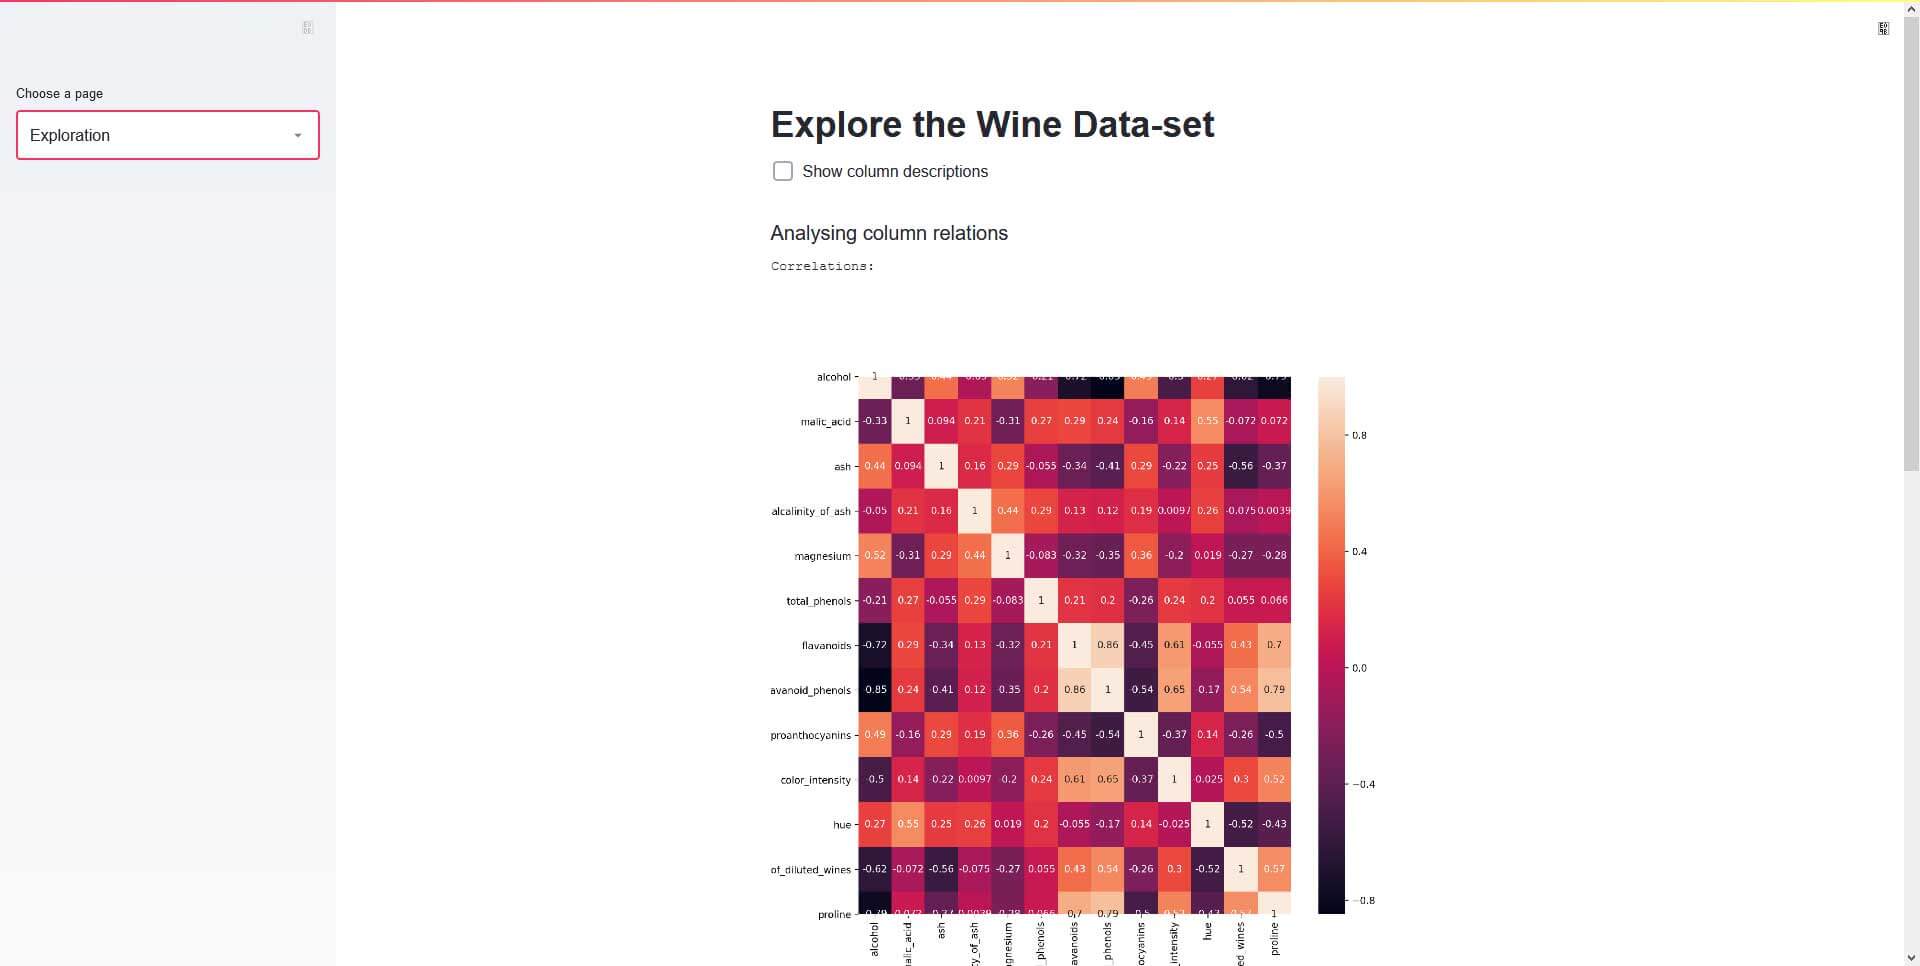
st.title('Explore the Wine Data-set')
if st.checkbox('Show column descriptions'):
st.dataframe(df.describe())
st.markdown('### Analysing column relations')
st.text('Correlations:')
fig, ax = plt.subplots(figsize=(10,10))
sns.heatmap(df.corr(), annot=True, ax=ax)
st.pyplot(fig)
st.text('Effect of the different classes')
fig = sns.pairplot(df, vars=['magnesium', 'flavanoids', 'nonflavanoid_phenols', 'proline'], hue='alcohol')
st.pyplot(fig)
else:
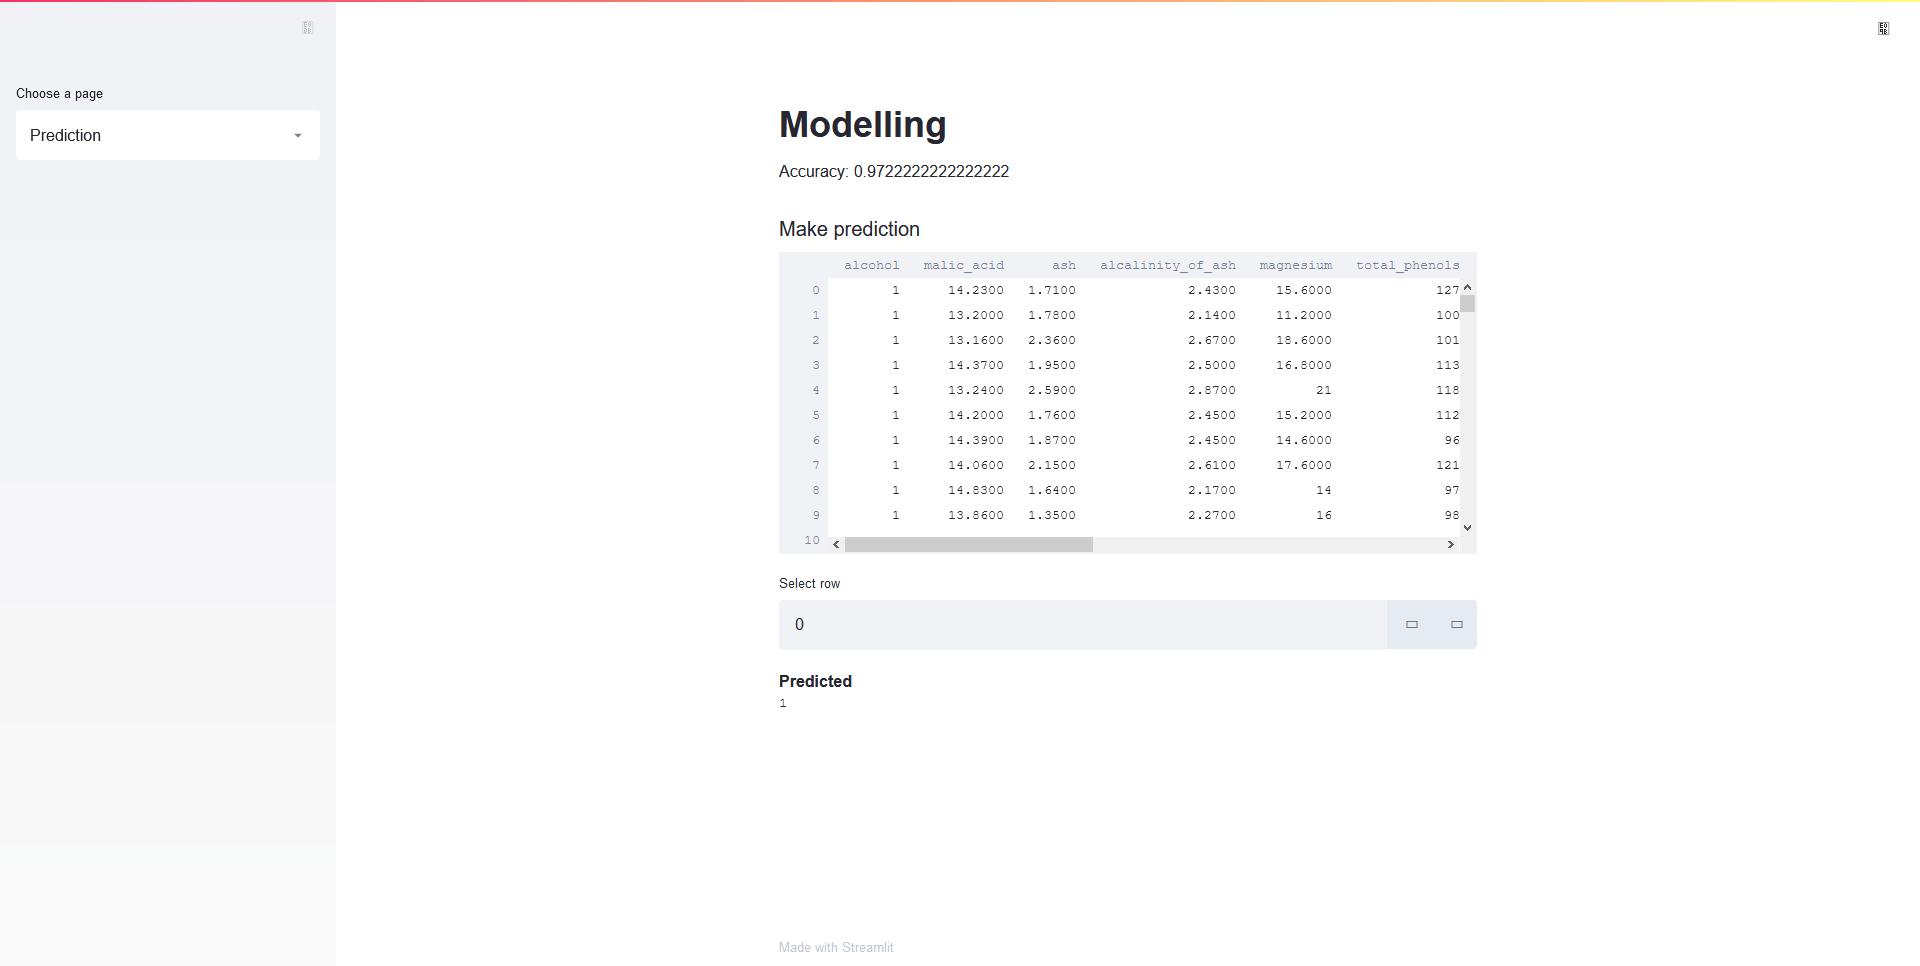
st.title('Modelling')
model, accuracy = train_model(df)
st.write('Accuracy: ' + str(accuracy))
st.markdown('### Make prediction')
st.dataframe(df)
row_number = st.number_input('Select row', min_value=0, max_value=len(df)-1, value=0)
st.markdown('#### Predicted')
st.text(model.predict(df.drop(['alcohol'], axis=1).loc[row_number].values.reshape(1, -1))[0])
@st.cache(allow_output_mutation=True)
def train_model(df):
X = np.array(df.drop(['alcohol'], axis=1))
y= np.array(df['alcohol'])
X_train, X_test, y_train, y_test = train_test_split(X, y, test_size=0.2, random_state=42)
model = RandomForestClassifier()
model.fit(X_train, y_train)
return model, model.score(X_test, y_test)
@st.cache
def load_data():
return pd.read_csv('https://archive.ics.uci.edu/ml/machine-learning-databases/wine/wine.data', names=['alcohol', 'malic_acid', 'ash', 'alcalinity_of_ash', 'magnesium', 'total_phenols','flavanoids', 'nonflavanoid_phenols' ,'proanthocyanins', 'color_intensity', 'hue', 'OD280/OD315_of_diluted_wines', 'proline'], delimiter=",", index_col=False)
if __name__ == '__main__':
main()
After running the file by executing streamlit run app.py, you will see the following page:
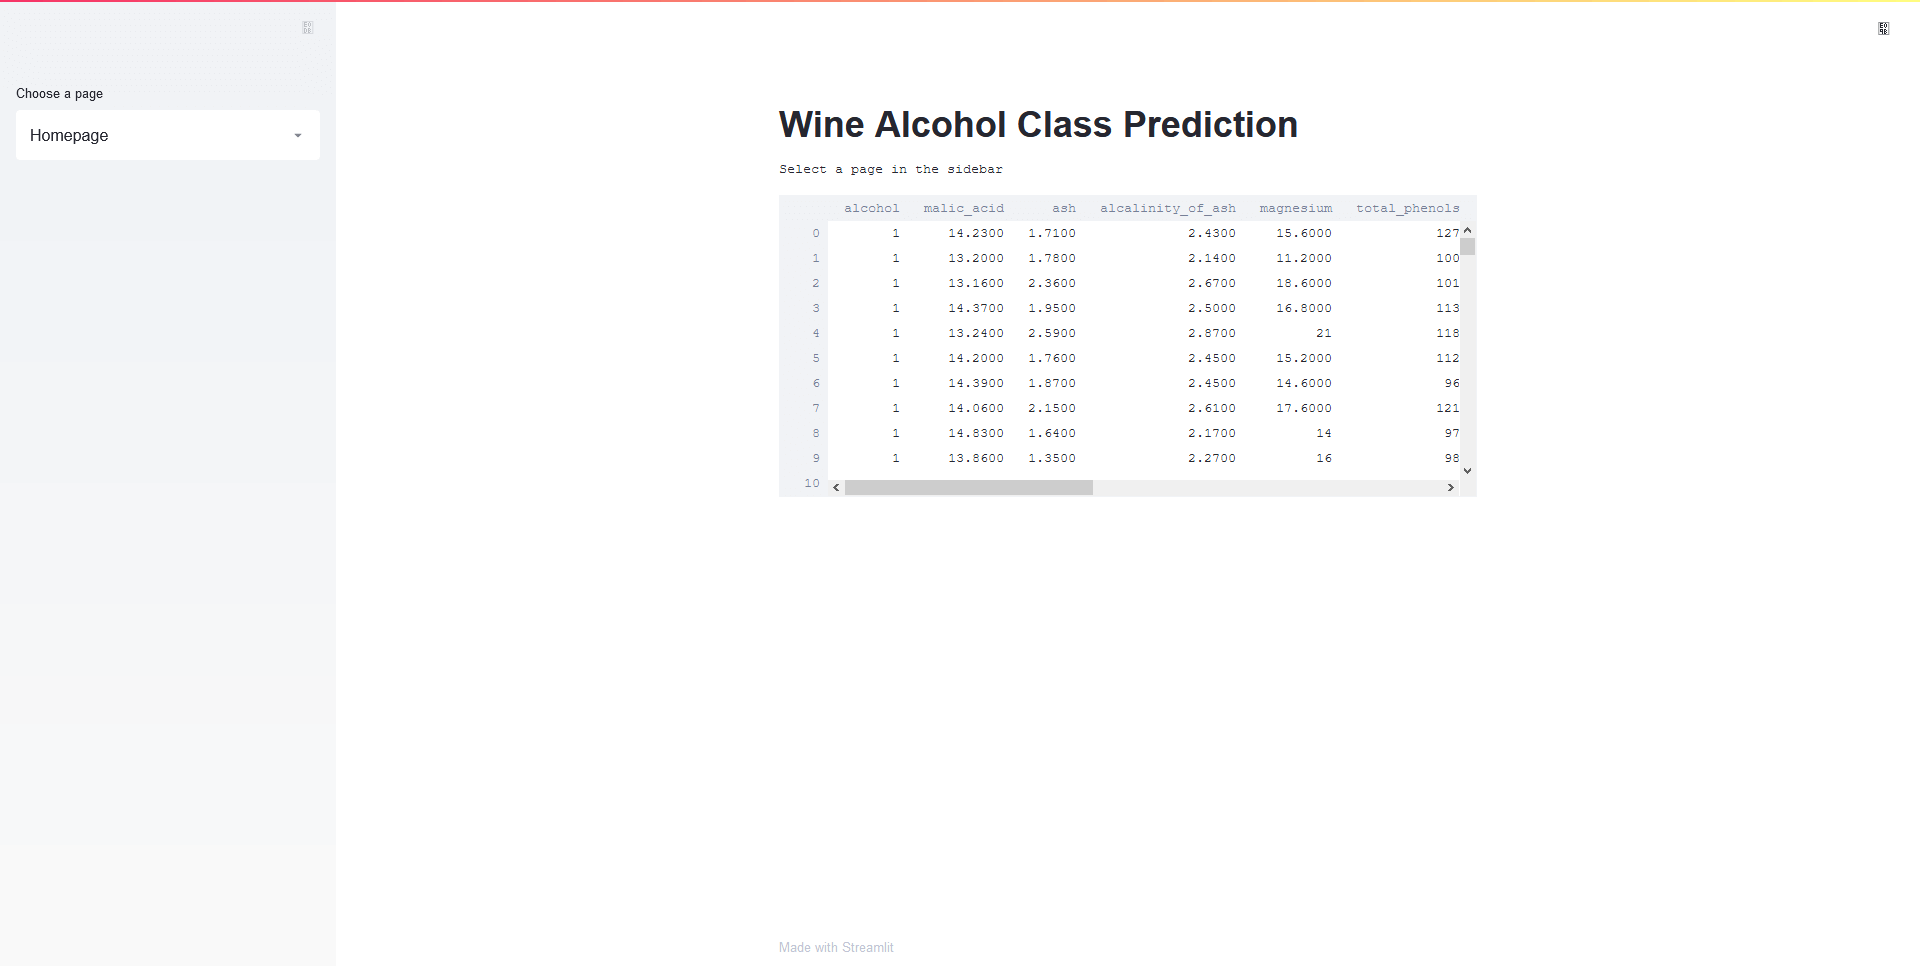
Using the selectbox in the sidebar, you can switch between pages.
Exploration page:
Modeling page:
Heroku deployment
Now that we have our application, we are ready to start deploying the application to Heroku.
1. Needed files
First, you need to add some files that allow Heroku to install the necessary requirements and run the application.
requirements.txt
The requirements.txt file contains all the libraries that need to be installed for the project to work. This file can be created manually by going through all files and looking at what libraries are used or automatically using something like pipreqs.
pipreqs <directory-path>
The requirements file should look something like the following:
streamlit==0.79.0
pandas==1.2.3
numpy==1.18.5
matplotlib==3.3.2
seaborn==0.11.0
scikit_learn==0.24.1
setup.sh and Procfile
Using the setup.sh and Procfile files, you can tell Heroku the needed commands for starting the application.
In the setup.sh file, we will create a streamlit folder with a credentials.toml and a config.toml file.
mkdir -p ~/.streamlit/

echo "\
[general]\n\
email = \"your-email@domain.com\"\n\
" > ~/.streamlit/credentials.toml

echo "\
[server]\n\
headless = true\n\
enableCORS=false\n\
port = $PORT\n\
" > ~/.streamlit/config.toml
The Procfile is used to execute the setup.sh and then call streamlit run to run the application.
web: sh setup.sh && streamlit run app.py
For more information on how to write a Procfile, check out the official documentation.
2. Creating a Git repository (if you haven’t yet)
Heroku allows deployment using many different technologies, including Git and Docker. In this article, we will use Git because it's simple.
A Git repository can be created with git init.
(ml) C:\Users\Gilbert\Desktop\wine_dataset>git init
Initialized empty Git repository in C:/Users/Gilbert/Desktop/wine_dataset/.git/
3. Create a Heroku Account
Next, you'll need to create a Heroku account here. In general, using Heroku is free, but in order to get more features like application metrics or free SSL, you'll have to pay.
You can find a detailed overview of all the different tiers on their pricing page.
4. Installing the Heroku Command Line Interface (CLI)
Now that you have an account, you will have to download Heroku's Command Line Interface.
5. Login to Heroku
After installing the CLI, you can login into the CLI using your Heroku account. To open a terminal, move into the application folder and then execute heroku login. You'll be asked to press a button, and after you have done so, you'll be redirected to a login screen in your default browser.
(ml) C:\Users\Gilbert\Desktop\wine_dataset>heroku login
heroku: Press any key to open up the browser to login or q to exit:
Opening browser to https://cli-auth.heroku.com/auth/browser/51ce4b4c-bd75-4fec-b67e-2ea39e00f36d
Logging in... done
Logged in as <xyz>
6. Deploy the Application
Finally, you can deploy your application to Heroku by running heroku create to create a Heroku instance.

Lastly, push the code to that instance using the following commands.
git add .
git commit -m "some message"
git push heroku master
When running git push heroku master, you should notice that it should automatically detect that you have a Python app, and it should install all packages inside the requirements.txt. After the command has finished, you should see something similar to the following:
remote: -----> Launching...
remote: Released v3
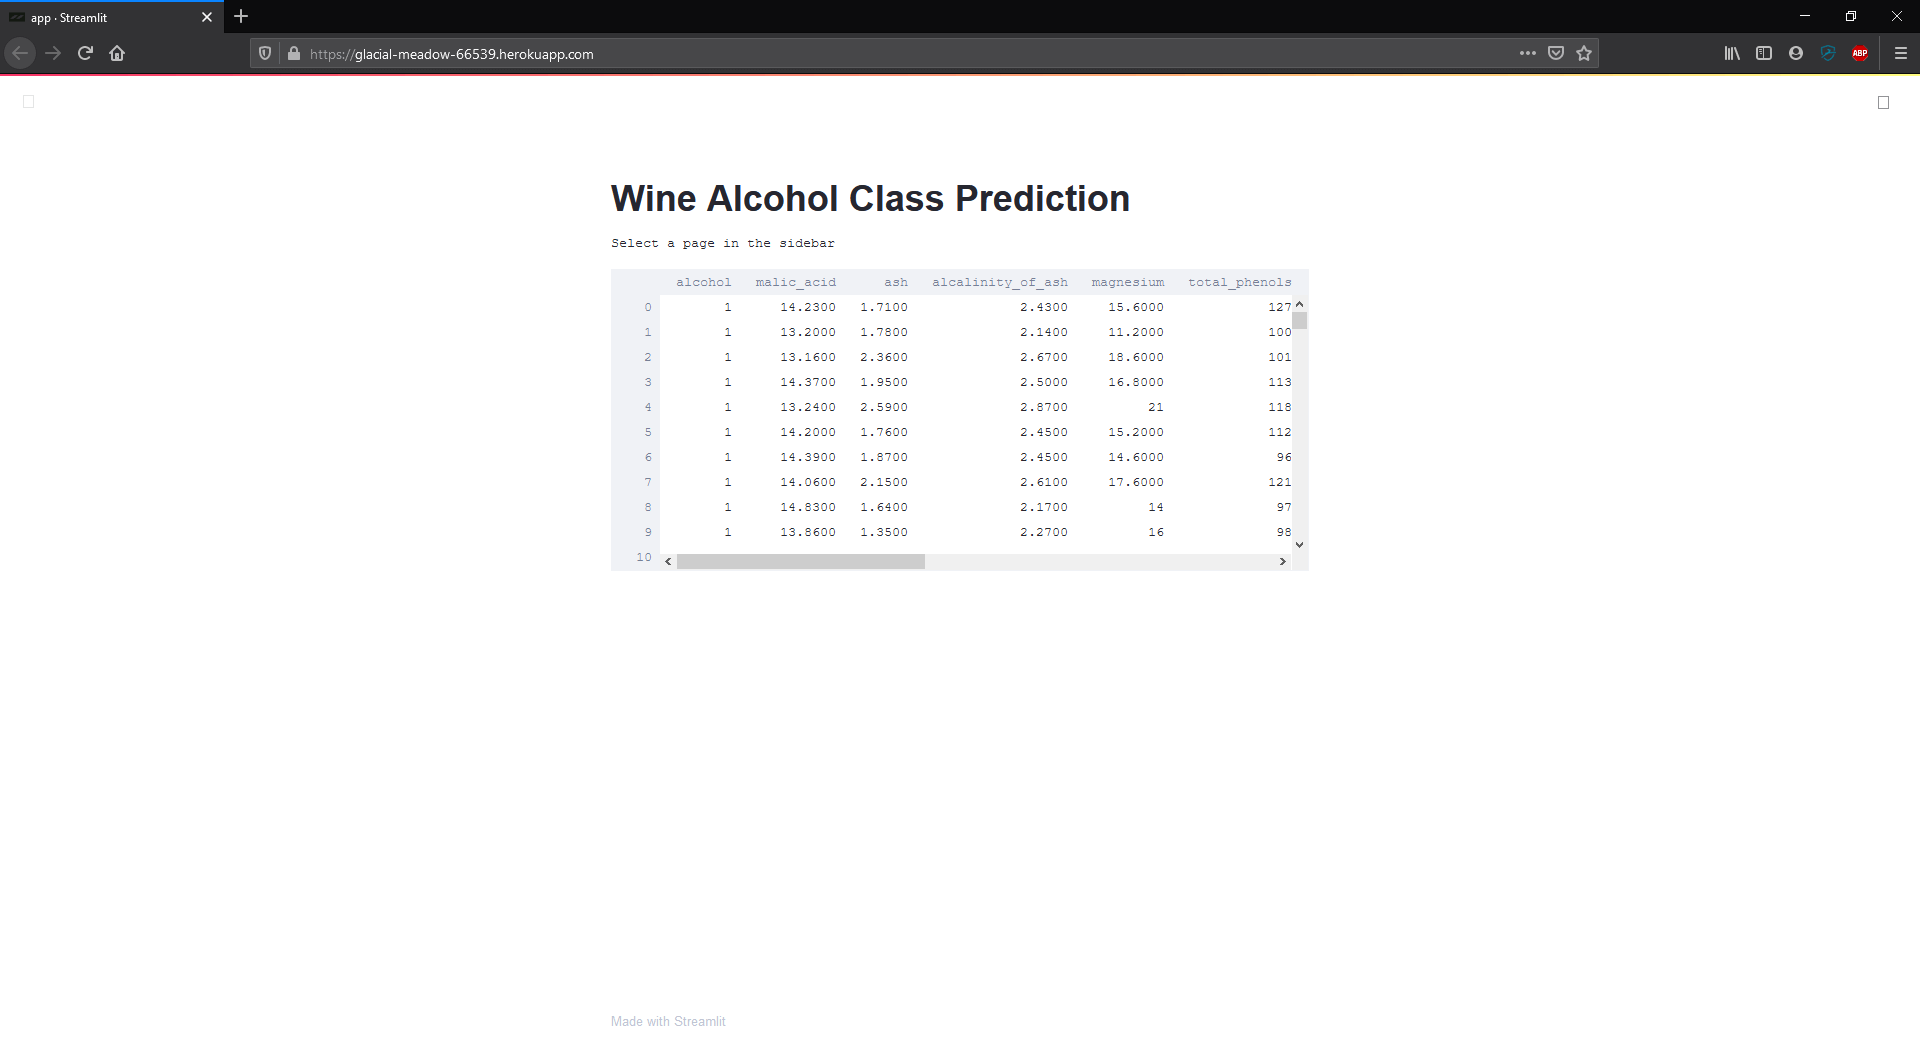
remote: https://glacial-meadow-66539.herokuapp.com/ deployed to Heroku
remote:
remote: Verifying deploy... done.
To https://git.heroku.com/glacial-meadow-66539.git
* [new branch] master -> master
7. Check if it is running
You can check if the application was deployed successfully using heroku ps:scale web=1.

Finally, the application can be opened with heroku open. This will open the app using your default browser.
Conclusion
For me, Streamlit revolutionized how I create dashboards out of my Data Science and Machine Learning experiments. But what is the worth of a dashboard that can't be shared?
In this article, I went over the process of deploying a Streamlit app using Heroku, a platform as a service (PaaS) allowing you to run applications on the cloud.
That's all from this article. If you have any questions or want to chat with me, feel free to contact me via EMAIL or social media.