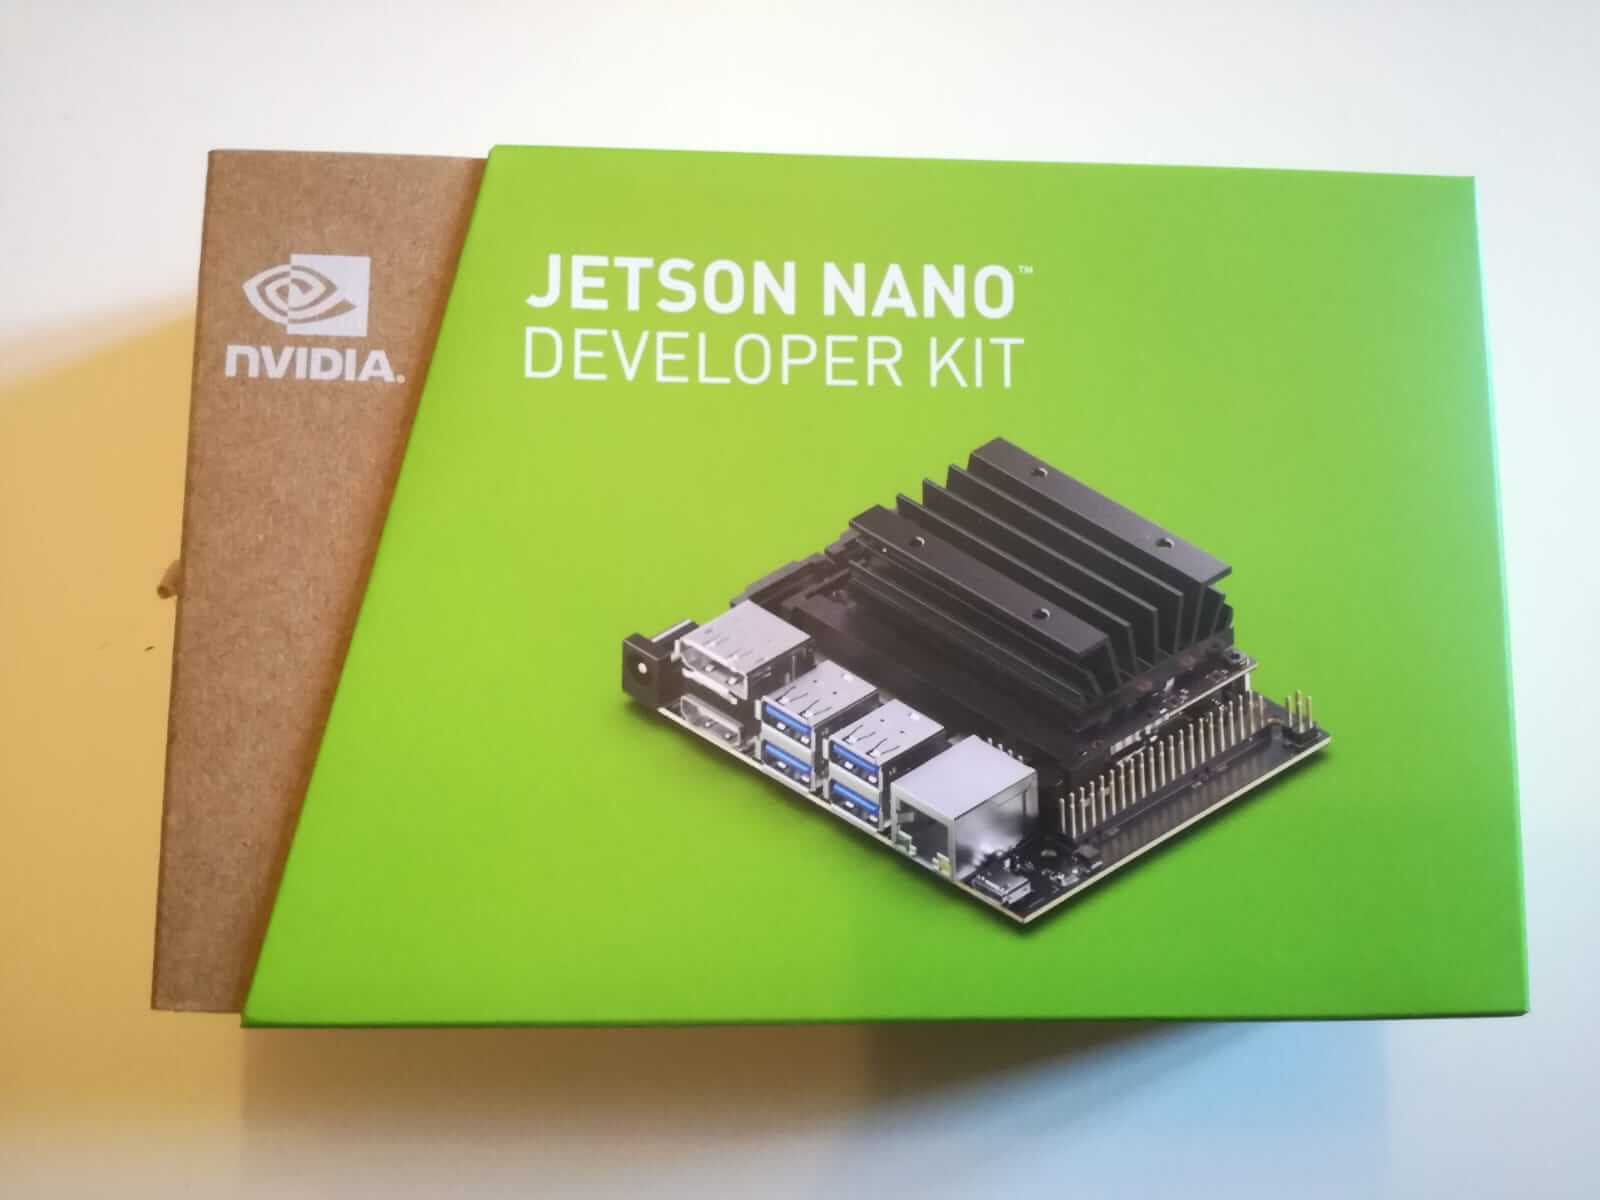
The NVIDIA Jetson Nano Developer Kit is a small edge computer for AI development.
In this article, you'll learn how to get started with the Jetson Nano, including:
- Jetson Nano Overview
- Requirements
- Setup
- Installing prerequisites and configuring your Python environment
- Installing deep learning libraries
- Compiling and installing Jetson Inference
- Running the Jetson Inference demos
Overview
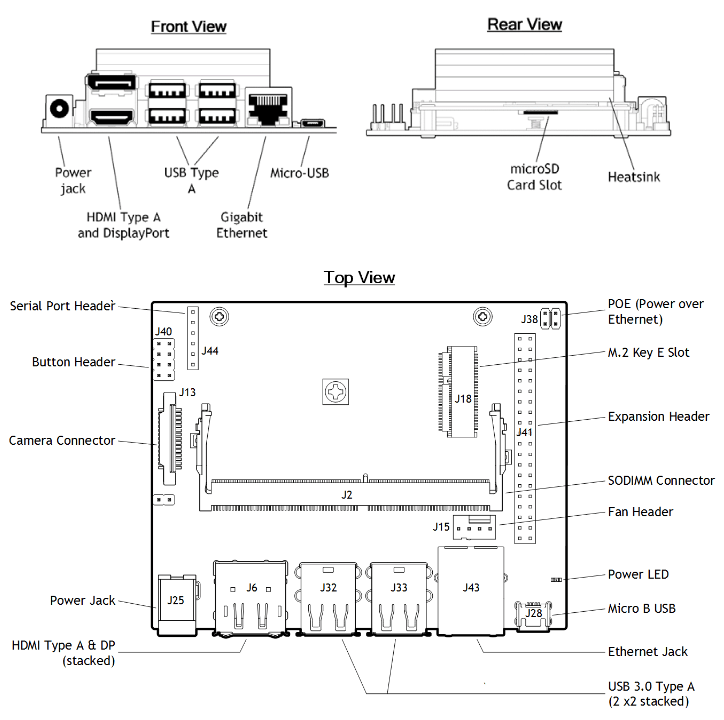
The Jetson Nano Developer Kit packs a Quad-core ARM A57 CPU with a clock rate of 1.43GHz and 4GB of low-power DDR4 memory. For the connectors, it has 4x USB 3.0, 1xUSB2.0 Micro-B for powering with 5V, an HDMI and Display Port connector for connecting displays, as well as one or two camera connectors that allow you to connect a Raspberry Pi Camera.
| GPU | 128-core Maxwell |
|---|---|
| CPU | Quad-core ARM A57 @ 1.43 GHz |
| Memory | 4 GB 64-bit LPDDR4 25.6 GB/s |
| Storage | microSD (not included) |
| Video Encoder | 4K @ 30 | 4x 1080p @ 30 | 9x 720p @ 30 (H.264/H.265) |
| Video Decoder | 4K @ 60 | 2x 4K @ 30 | 8x 1080p @ 30 | 18x 720p @ 30 (H.264/H.265) |
| Camera | 2x MIPI CSI-2 DPHY lanes |
| Connectivity | Gigabit Ethernet, M.2 Key E |
| Display | HDMI and display port |
| USB | 4x USB 3.0, USB 2.0 Micro-B |
| Others | GPIO, I2C, I2S, SPI, UART |
| Mechanical | 69 mm x 45 mm, 260-pin edge connector |
For further information and a comparison between the different Jetson devices, you can visit the Jetson Hardware section.
Requirements
Besides the Jetson Nano Developer Kit, you'll also need a microSD card, a power supply (5V 2A), and an ethernet cable or WiFi adapter.
microSD card
The Jetson Nano uses a microSD card as a boot device and primary storage. The minimum size for the microSD card is 16GB, but I would strongly recommend getting at least 32GB. It's also essential to get a fast microSD as this will make working on the Jetson Nano a lot more fluent.
Power Supply
The Jetson Nano can be powered in three different ways: over USB Micro-B, Barrel Jack connector, or through the GPIO Header.
To power the Jetson Nano over USB Micro-B, the power supply needs to supply 5V 2A. Unfortunately, not every power supply is capable of providing this. NVIDIA specifically recommends a 5V 2.5A power supply from Adafruit, but I use a Raspberry Pi power supply, and it works just fine.
If you want to get the full performance out of the Jetson Nano, I'd recommend using the Barrel Jack instead of powering over USB because you can supply 5V 4A over the Barrel Jack.
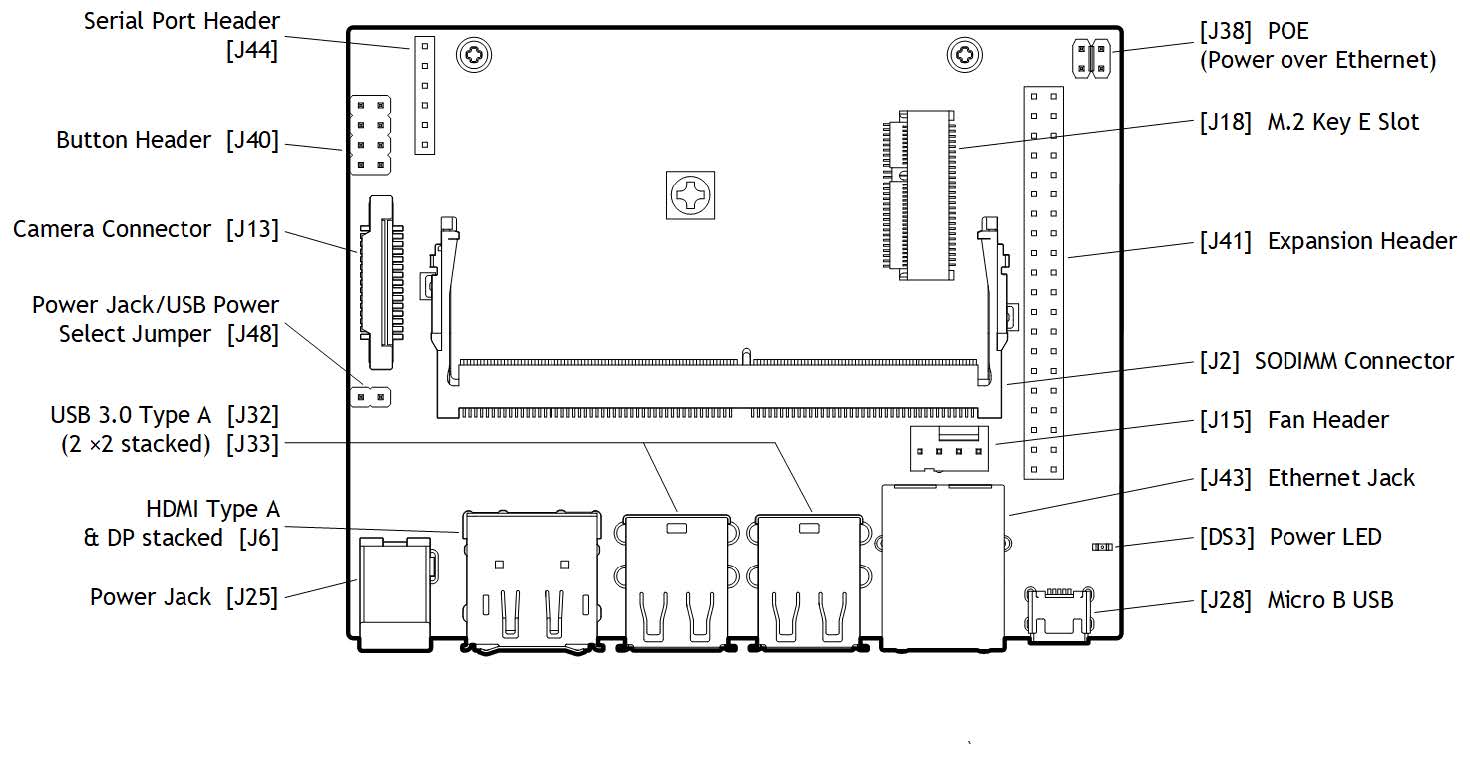
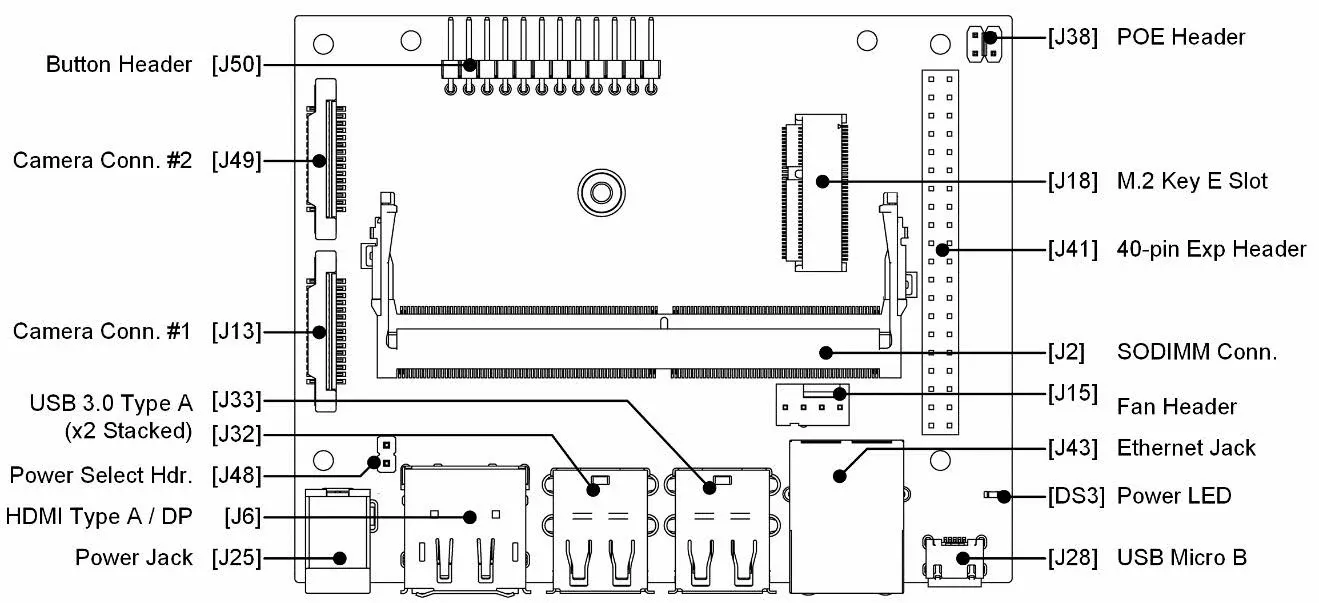
Before connecting the Barrel Jack, you need to place a jumper on J48. The power jumper location can vary depending on if you have the older A02 model or, the newer B01 model.
Ethernet cable or WiFi Adapter
Lastly, you'll need an ethernet cable or a WiFi Adapter since the Jetson Nano doesn't come with one. For the WiFi Adapter, you can either use one that connects through USB or a PCIe WiFi Card like the Intel® Dual Band Wireless-AC 8265.
Setup
Before we can get started setting up a Python environment and running some deep learning demos, we have to download the Jetson Nano Developer Kit SD Card Image and flash it to the microSD card.
After that is done, you need to insert the microSD card into the microSD slot, as shown in the following image:
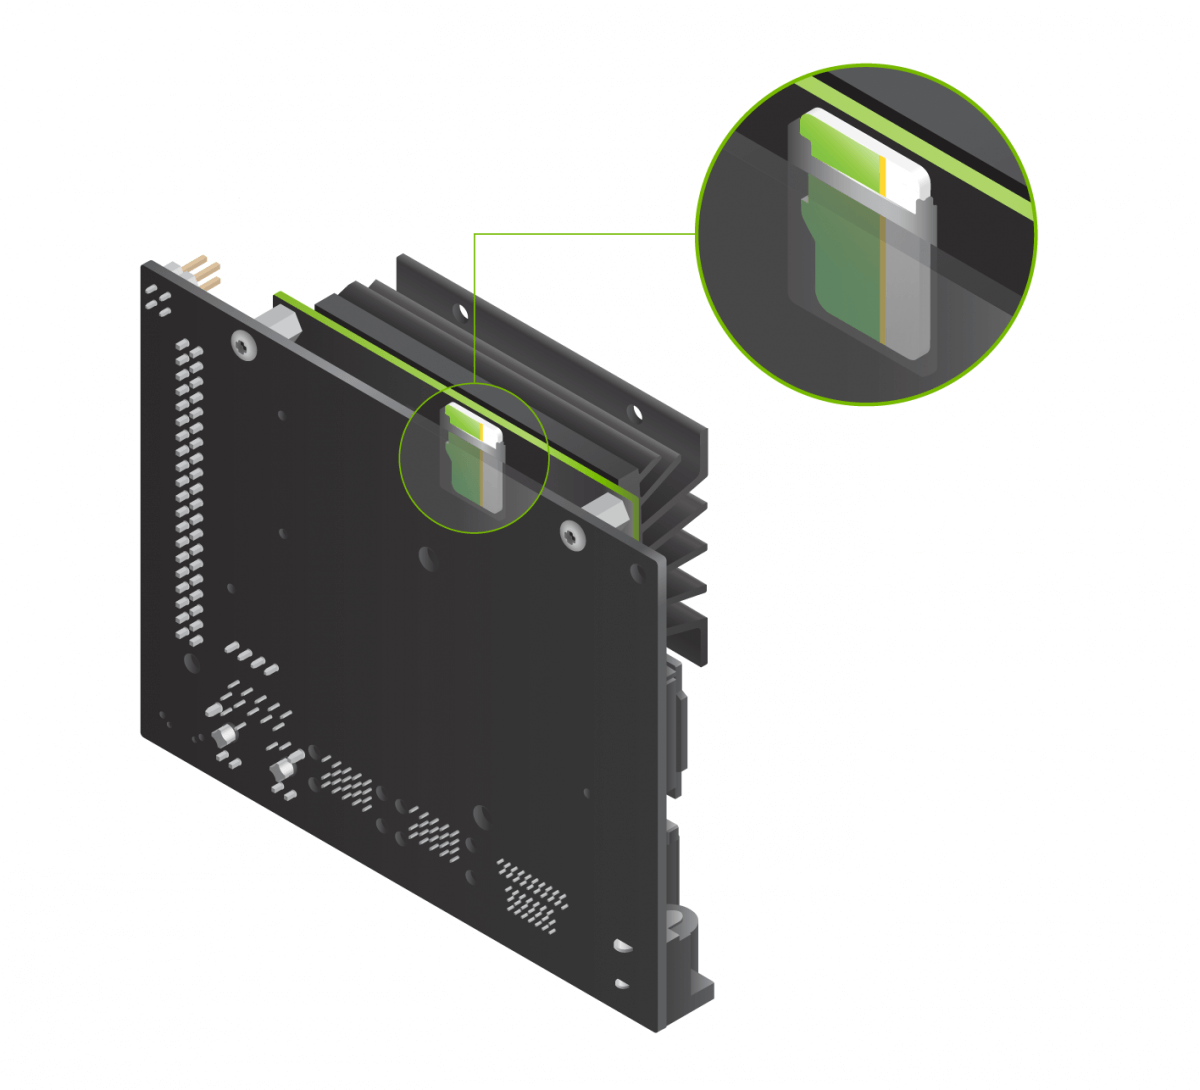
After inserting the microSD card, you can connect the power supply, which will automatically boot up the system.
When you boot the system for the first time, you'll be taken through some initial setup, including:
- Review and accept NVIDIA Jetson software EULA
- Select system language, keyboard layout, and time zone
- Create username, password, and computer name
- Log in
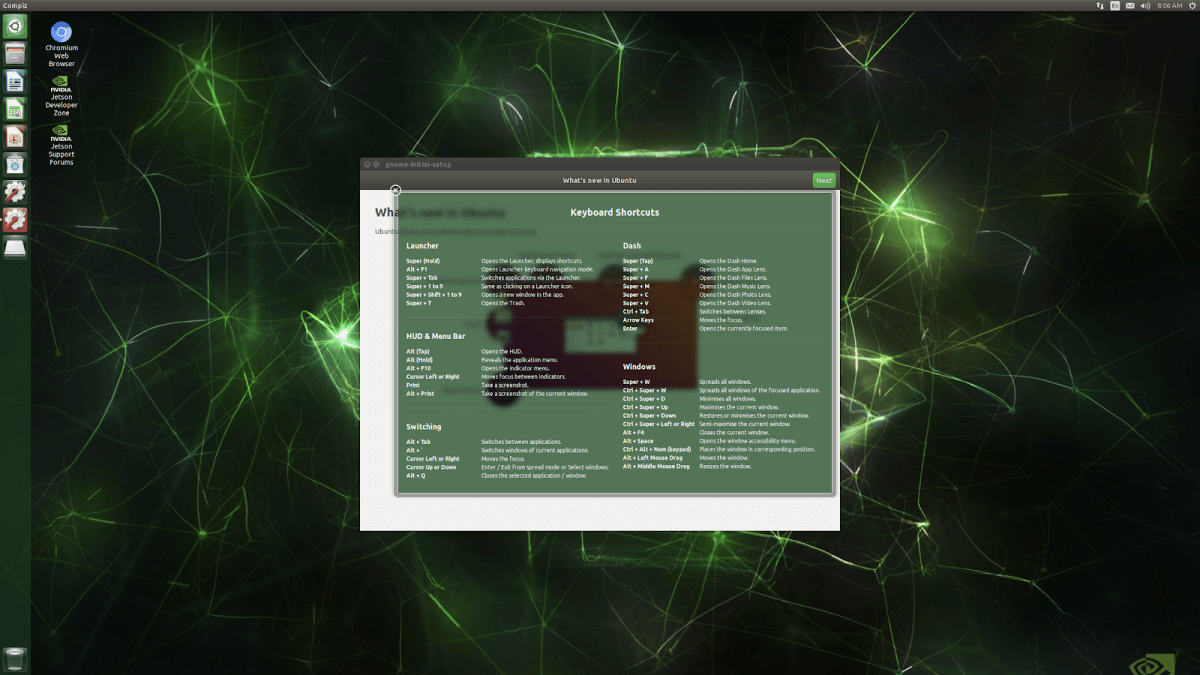
After the initial setup, you should see the following screen:
Increasing swap memory
Recent releases of JetPack enable swap memory as part of the default distribution using the zram module. By default, 2GB of swap memory is enabled. To change the amount of swap memory, you can either edit the /etc/systemd/nvzramconfig.sh file directly or use the resizeSwapMemory repository from JetsonNanoHacks.
git clone https://github.com/JetsonHacksNano/resizeSwapMemory
cd resizeSwapMemory
 ./setSwapMemorySize.sh -g 4
After executing the above command, you'll have to restart the Jetson Nano for the changes to take effect.
Installing prerequisites and configuring your Python environment
Now that the Jetson Nano is ready to go, we will create a deep learning environment. We will start by installing all prerequisites and configuring a Python environment, and how to code remote using VSCode Remote SSH.
Installing prerequisites
sudo apt-get update
sudo apt-get upgrade

sudo apt-get install git cmake python3-dev nano

sudo apt-get install libhdf5-serial-dev hdf5-tools libhdf5-dev zlib1g-dev zip libjpeg8-dev
Configuring your Python environment
Next, we will configure our Python environment. This includes downloading pip3 and virtualenv.
Install pip:
sudo apt-get install python3-pip
sudo pip3 install -U pip testresources setuptools
For managing virtual environments, we'll be using virtualenv, which can be installed as below:
sudo pip install virtualenv virtualenvwrapper
To get virtualenv to work, we need to add the following lines to the ~/.bashrc file:
# virtualenv and virtualenvwrapper
export WORKON_HOME=$HOME/.virtualenvs
export VIRTUALENVWRAPPER_PYTHON=/usr/bin/python3
source /usr/local/bin/virtualenvwrapper.sh
To activate the changes, the following command must be executed:
source ~/.bashrc
Now we can create a virtual environment using the mkvirtualenv command.
mkvirtualenv ml -p python3
workon ml
Coding remote with Visual Studio Code (optional)
If you are like me and hate writing long scripts in nano or vim, the VSCode remote development plugin is for you. It allows you to develop remotely inside VSCode by establishing an SSH remote connection.
To use VSCode remote development, you'll first have to install the remote development plugin. After that, you need to create an SSH-Key on your local machine and then copy it over to the Jetson Nano.
# Create Key
ssh-keygen -t rsa
# Copy key to jetson nano
cat ~/.ssh/id_rsa.pub | ssh user@hostname 'cat >> .ssh/authorized_keys'
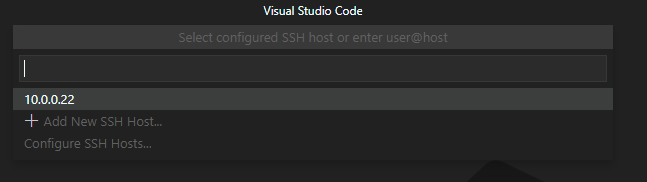
Now you only need to add the SSH Host. Ctrl + Shift + P -> Remote SSH: Connect to Host.

Installing deep learning libraries
Now that our development and python environments are set up, we can start installing some deep learning libraries. NVIDIA provides a guide on installing deep learning libraries on the Jetson Nano. I simply put the commands for some installations below.
TensorFlow
# install prerequisites
$ sudo apt-get install libhdf5-serial-dev hdf5-tools libhdf5-dev zlib1g-dev zip libjpeg8-dev liblapack-dev libblas-dev gfortran

# install and upgrade pip3
$ sudo apt-get install python3-pip
$ sudo pip3 install -U pip testresources setuptools=49.6.0

# install the following python packages
$ sudo pip3 install -U numpy==1.19.4 future==0.18.2 mock==3.0.5 h5py==2.10.0 keras_preprocessing==1.1.1 keras_applications==1.0.8 gast==0.2.2 futures protobuf pybind11

# to install TensorFlow 1.15 for JetPack 4.6:
$ sudo pip3 install --pre --extra-index-url https://developer.download.nvidia.com/compute/redist/jp/v46 'tensorflow<2'

# or install the latest version of TensorFlow (2.x) for JetPack 4.6:
$ sudo pip3 install --pre --extra-index-url https://developer.download.nvidia.com/compute/redist/jp/v46 tensorflow

# or install the latest version of TensorFlow (2.x) for JetPack 5.0:
$ sudo pip3 install --pre --extra-index-url https://developer.download.nvidia.com/compute/redist/jp/v50 tensorflow
PyTorch
# install OpenBLAS and OpenMPI
$ sudo apt-get install libopenblas-base libopenmpi-dev

# Python 3.6
$ sudo apt-get install python3-pip
$ pip3 install Cython
$ wget https://developer.download.nvidia.com/compute/redist/jp/v50/pytorch/torch-1.12.0a0+2c916ef.nv22.3-cp38-cp38-linux_aarch64.whl -O torch-1.12.0a0+2c916ef.nv22.3-cp38-cp38-linux_aarch64.whl
$ pip3 install numpy torch-1.12.0a0+2c916ef.nv22.3-cp38-cp38-linux_aarch64.whl
OpenCV
Installing OpenCV on the Jetson Nano can be a bit more complicated, but frankly, JetsonHacks.com has a great guide.
Compiling and installing Jetson Inference
NVIDIA's Jetson Inference repository includes lots of great scripts that allow you to perform image classification, object detection, and semantic segmentation on both images and a live video stream. In this article, we will go through how to compile and install the Jetson Inference repository and run some of the provided demos. Maybe I will go through the repository in more detail in an upcoming article.
To install Jetson Inference, you need to run the following commands:
# download the repo
$ git clone --recursive https://github.com/dusty-nv/jetson-inference
$ cd jetson-inference

# configure build tree
$ mkdir build
$ cd build
$ cmake ../

# build and install
$ make -j$(nproc)
$ sudo make install
$ sudo ldconfig
Running the Jetson Inference demos
After building the project, you can go to the jetson-inference/build/aarch64/bin directory. Inside you'll find multiple C++ and Python scripts. Below we'll go through how to run image classification, object detection, and semantic segmentation.
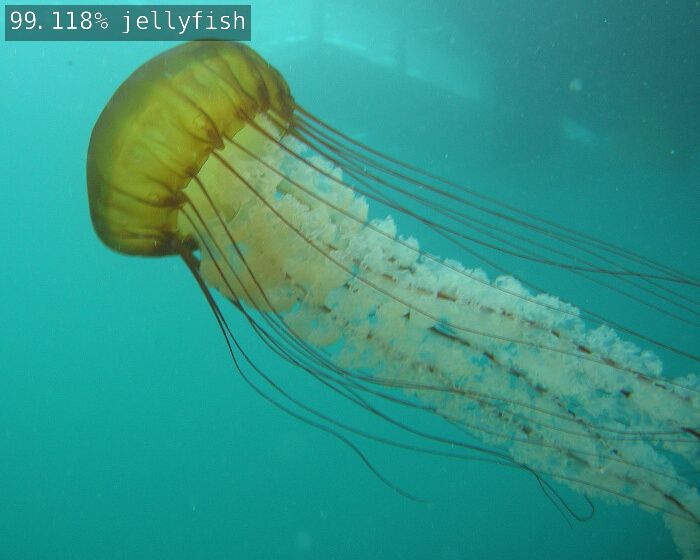
Image Classification
Inside the folder, there are two imagenet examples - imagenet.cpp and imagenet.py.
imagenet.cpp(C++)imagenet.py(Python)
# C++
$ ./imagenet --network=resnet-18 images/jellyfish.jpg images/test/output_jellyfish.jpg

# Python
$ ./imagenet.py --network=resnet-18 images/jellyfish.jpg images/test/output_jellyfish.jpg
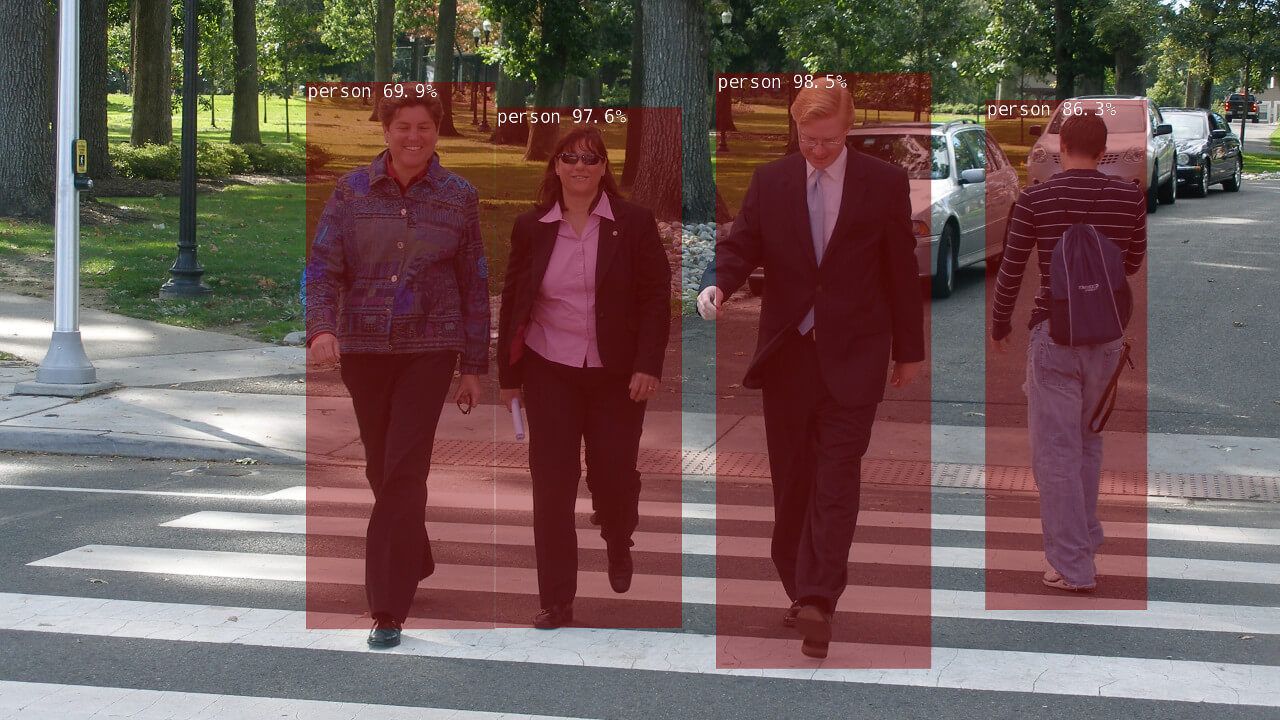
Object Detection
detectnet.cpp(C++)detectnet.py(Python)
# C++
$ ./detectnet --network=ssd-mobilenet-v2 images/peds_0.jpg images/test/output.jpg     # --network flag is optional

# Python
$ ./detectnet.py --network=ssd-mobilenet-v2 images/peds_0.jpg images/test/output.jpg  # --network flag is optional
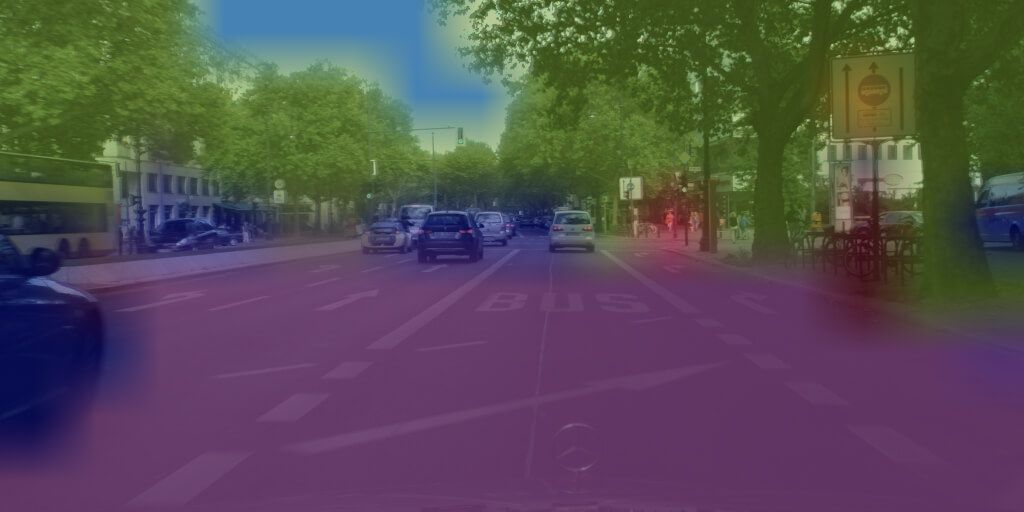
Semantic Segmentation
segnet.cpp(C++)segnet.py(Python)
# C++
$ ./segnet --network=fcn-resnet18-cityscapes images/city_0.jpg images/test/output.jpg

# Python
$ ./segnet.py --network=fcn-resnet18-cityscapes images/city_0.jpg images/test/output.jpg
JetPack 4.5.1 CUDA and VisionWorks samples
JetPack 4.5.1 includes multiple CUDA and VisionWork demos.
CUDA samples
Installation:
./usr/local/cuda/bin/cuda-install-samples-10.2.sh ~
cd ~/NVIDIA_CUDA-10.2_Samples/
make
cd bin/aarch64/linux/release
After compiling, you can find multiple examples inside the bin/aarch64/linux/release directory.
oceanFFT sample:
./oceanFFT
particles sample:
./particles
smokeParticles sample:
./smokeParticles
VisionWorks samples
Installation:
./usr/share/visionworks/sources/install-samples.sh
cd ~/VisionWorks-1.6-Samples
make
cd bin/aarch64/linux/release
After compiling, you can find multiple examples inside the bin/aarch64/linux/release directory.
Feature Tracker sample:
./nvx_demo_feature_tracker
Motion Detection sample:
./nvx_demo_motion_estimation
Object Tracker sample:
./nvx_sample_object_tracker_nvxcu
Conclusion
If you have any questions or want to chat with me, feel free to contact me via EMAIL or social media.