When thinking of data science and machine learning, two programming languages, Python and R, immediately come to mind. These two languages support every common machine learning algorithm, preprocessing technique, and much more and can be used for almost every machine learning problem.
However, sometimes an individual or company can't or doesn't want to use Python or R. This can be because of one of many reasons, including already having a code-base in another language or having no experience in Python or R. One of the most popular languages today is C# which is used for many applications. To use the power of Machine Learning in C#, Microsoft created a package called ML.NET, which provides all the basic Machine Learning functionality.
In this article, I will show you how to use ML.NET to create a binary classification model, discuss its AutoML capabilities and show you how to use a Tensorflow model with ML.NET. The complete code for the binary classification model can be found on my Github.
Adding ML.NET to a C# project
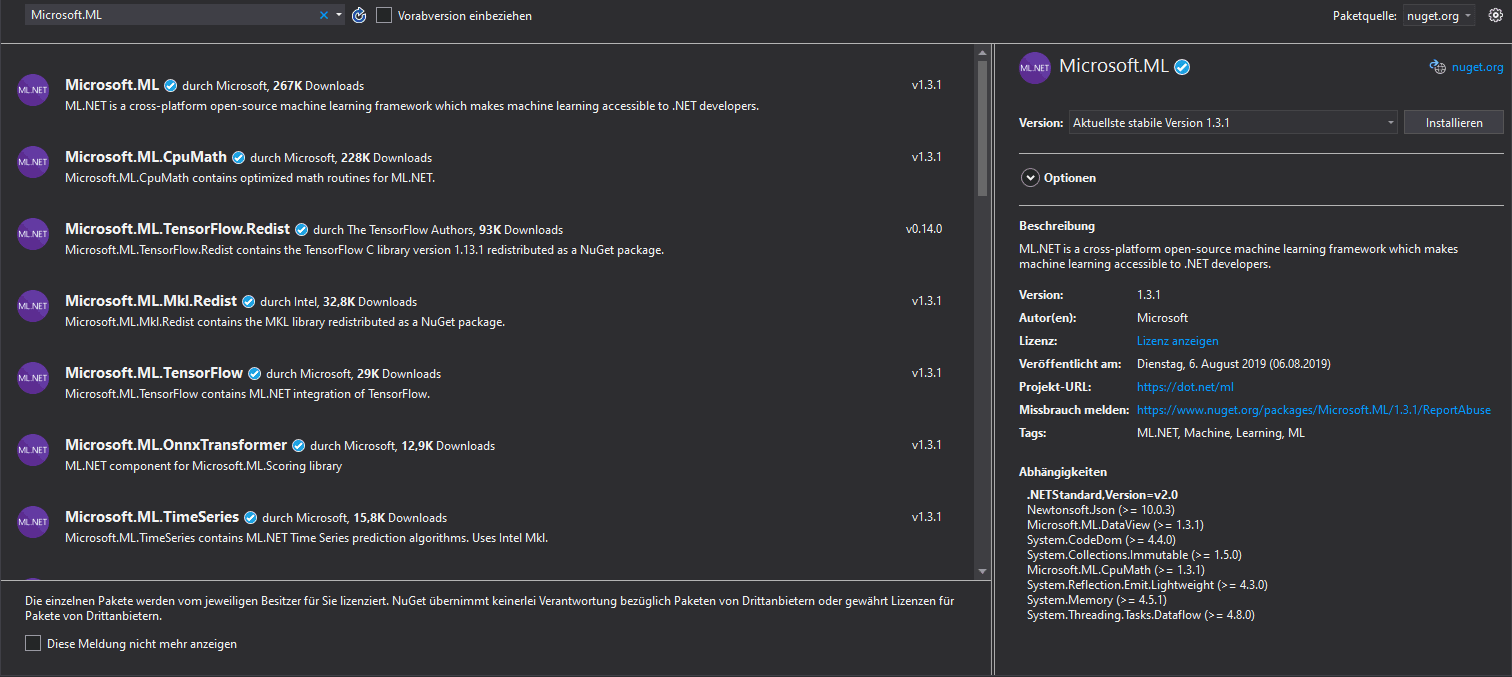
Adding ML.NET to your C# or F# project is fairly straightforward. The only thing needed is to install is the Microsoft.ML package. Depending on your use case you might need to also install some extra packages like Microsoft.ML.ImageAnalytics, Microsoft.ML.TensorFlow or Microsoft.ML.OnnxTransformer.
Loading in a data-set and creating a data pipeline
Loading in and preprocessing a data-set in ML.NET is quite different from working with other machine learning packages/frameworks because it requires us to state our data structure explicitly. To do so, we create a file called ModelInput.cs inside a folder called DataModels. Inside this file, we state all the columns of our data-set.
We will use the Credit Card Fraud Detection data-set for this article, which can be freely downloaded on Kaggle. This data-set contains 31 columns. The class of the transaction, either 0 or 1, the amount of the transaction, the time the transaction occurred, and 28 anonymous features.

using Microsoft.ML.Data;

namespace CreditCardFraudDetection.DataModels
{
    public class ModelInput
    {
        [ColumnName("Time"), LoadColumn(0)]
        public float Time { get; set; }

        [ColumnName("V1"), LoadColumn(1)]
        public float V1 { get; set; }

        [ColumnName("V2"), LoadColumn(2)]
        public float V2 { get; set; }

        [ColumnName("V3"), LoadColumn(3)]
        public float V3 { get; set; }

        [ColumnName("V4"), LoadColumn(4)]
        public float V4 { get; set; }

        [ColumnName("V5"), LoadColumn(5)]
        public float V5 { get; set; }

        [ColumnName("V6"), LoadColumn(6)]
        public float V6 { get; set; }

        [ColumnName("V7"), LoadColumn(7)]
        public float V7 { get; set; }

        [ColumnName("V8"), LoadColumn(8)]
        public float V8 { get; set; }

        [ColumnName("V9"), LoadColumn(9)]
        public float V9 { get; set; }

        [ColumnName("V10"), LoadColumn(10)]
        public float V10 { get; set; }

        [ColumnName("V11"), LoadColumn(11)]
        public float V11 { get; set; }

        [ColumnName("V12"), LoadColumn(12)]
        public float V12 { get; set; }

        [ColumnName("V13"), LoadColumn(13)]
        public float V13 { get; set; }

        [ColumnName("V14"), LoadColumn(14)]
        public float V14 { get; set; }

        [ColumnName("V15"), LoadColumn(15)]
        public float V15 { get; set; }

        [ColumnName("V16"), LoadColumn(16)]
        public float V16 { get; set; }

        [ColumnName("V17"), LoadColumn(17)]
        public float V17 { get; set; }

        [ColumnName("V18"), LoadColumn(18)]
        public float V18 { get; set; }

        [ColumnName("V19"), LoadColumn(19)]
        public float V19 { get; set; }

        [ColumnName("V20"), LoadColumn(20)]
        public float V20 { get; set; }

        [ColumnName("V21"), LoadColumn(21)]
        public float V21 { get; set; }

        [ColumnName("V22"), LoadColumn(22)]
        public float V22 { get; set; }

        [ColumnName("V23"), LoadColumn(23)]
        public float V23 { get; set; }

        [ColumnName("V24"), LoadColumn(24)]
        public float V24 { get; set; }

        [ColumnName("V25"), LoadColumn(25)]
        public float V25 { get; set; }

        [ColumnName("V26"), LoadColumn(26)]
        public float V26 { get; set; }

        [ColumnName("V27"), LoadColumn(27)]
        public float V27 { get; set; }

        [ColumnName("V28"), LoadColumn(28)]
        public float V28 { get; set; }

        [ColumnName("Amount"), LoadColumn(29)]
        public float Amount { get; set; }

        [ColumnName("Class"), LoadColumn(30)]
        public bool Class { get; set; }
    }
}
Here we create a field for each of the columns inside our data-set. The important thing is to specify the right data-type and column index.
Now that we have our data modeled, we need to also model what our output should look like. This can be done in a similar fashion as the above script.
using Microsoft.ML.Data;

namespace CreditCardFraudDetection.DataModels
{
    public class ModelOutput
    {
        [ColumnName("PredictedLabel")]
        public bool Prediction { get; set; }

        public float Score { get; set; }
    }
}
Here, we have two fields. The score field denotes the output in percent while the prediction field is a boolean.
Now that we have both the input and output data modeled, we can load our actual data into memory using the LoadFromTextFile method.
IDataView trainingDataView = mlContext.Data.LoadFromTextFile<ModelInput>(
                                            path: dataFilePath,
                                            hasHeader: true,
                                            separatorChar: ',',
                                            allowQuoting: true,
                                            allowSparse: false);
Creating and training a model
To create and train a model using ML.NET, we need to create a pipeline containing the needed data-preprocessing and the training algorithm. However, it is hard to do any preprocessing for this particular data-set because it has 28 anonymous features. Therefore I chose to keep it simple and only concatenated all features (this must always be done in ML.NET).
var dataProcessPipeline = mlContext.Transforms.Concatenate("Features", new[] { "Time", "V1", "V2", "V3", "V4", "V5", "V6", "V7", "V8", "V9", "V10", "V11", "V12", "V13", "V14", "V15", "V16", "V17", "V18", "V19", "V20", "V21", "V22", "V23", "V24", "V25", "V26", "V27", "V28", "Amount" });
For the model, I choose the LightGBM algorithm. This algorithm isn't included in Microsoft.ML from the start, and therefore you need to install Microsoft.ML.LightGbm to use it.
// Choosing algorithm
var trainer = mlContext.BinaryClassification.Trainers.LightGbm(labelColumnName: "Class", featureColumnName: "Features");
// Appending algorithm to pipeline
var trainingPipeline = dataProcessPipeline.Append(trainer);
Now we can train the model with the Fit method and save it using mlContext.Model.Save.
ITransformer model = trainingPipeline.Fit(trainingDataView);
mlContext.Model.Save(model , trainingDataView.Schema, <path>);
Evaluating a model
Now that our model is trained, we need to check its performance. The easiest way to do this is using cross-validation. ML.Net offers us cross-validation methods for all kinds of different data-set. Because our data-set is a binary classification data-set, we will use the mlContext.BinaryClassification.CrossValidateNonCalibrated method to score our model.
var crossValidationResults = mlContext.BinaryClassification.CrossValidateNonCalibrated(trainingDataView, trainingPipeline, numberOfFolds: 5, labelColumnName: "Class");
Making predictions
Making predictions on new data is straightforward using ML.NET. We only need to create a PredictionEngine, another representation of our model specifically made for inference, and call its Predict method passing it a ModelInput object.
var predEngine = mlContext.Model.CreatePredictionEngine<ModelInput, ModelOutput>(mlModel);

ModelInput sampleData = new ModelInput() {
    time = 0,
    V1 = -1.3598071336738,
    ...
};

ModelOutput predictionResult = predEngine.Predict(sampleData);

Console.WriteLine($"Actual value: {sampleData.Class} | Predicted value: {predictionResult.Prediction}");
Auto-ML
Another great thing about ML.NET is its excellent implementation of Auto-ML. Using Auto-ML, we can build basic Machine Learning solutions by only specifying what problem we are working on and providing our data.
To get started with Auto-ML in ML.NET, you need to download the "ML.NET Model Builder (Preview)" Visual Studio Extension. This can be done through the extensions tab.
After successfully installing the extension, Auto-ML can be used by right-clicking on your project inside the Solution Explorer and selecting Add->Machine Learning.
This opens the Model Builder window. The model builder will guide you through the process of building a machine learning model.
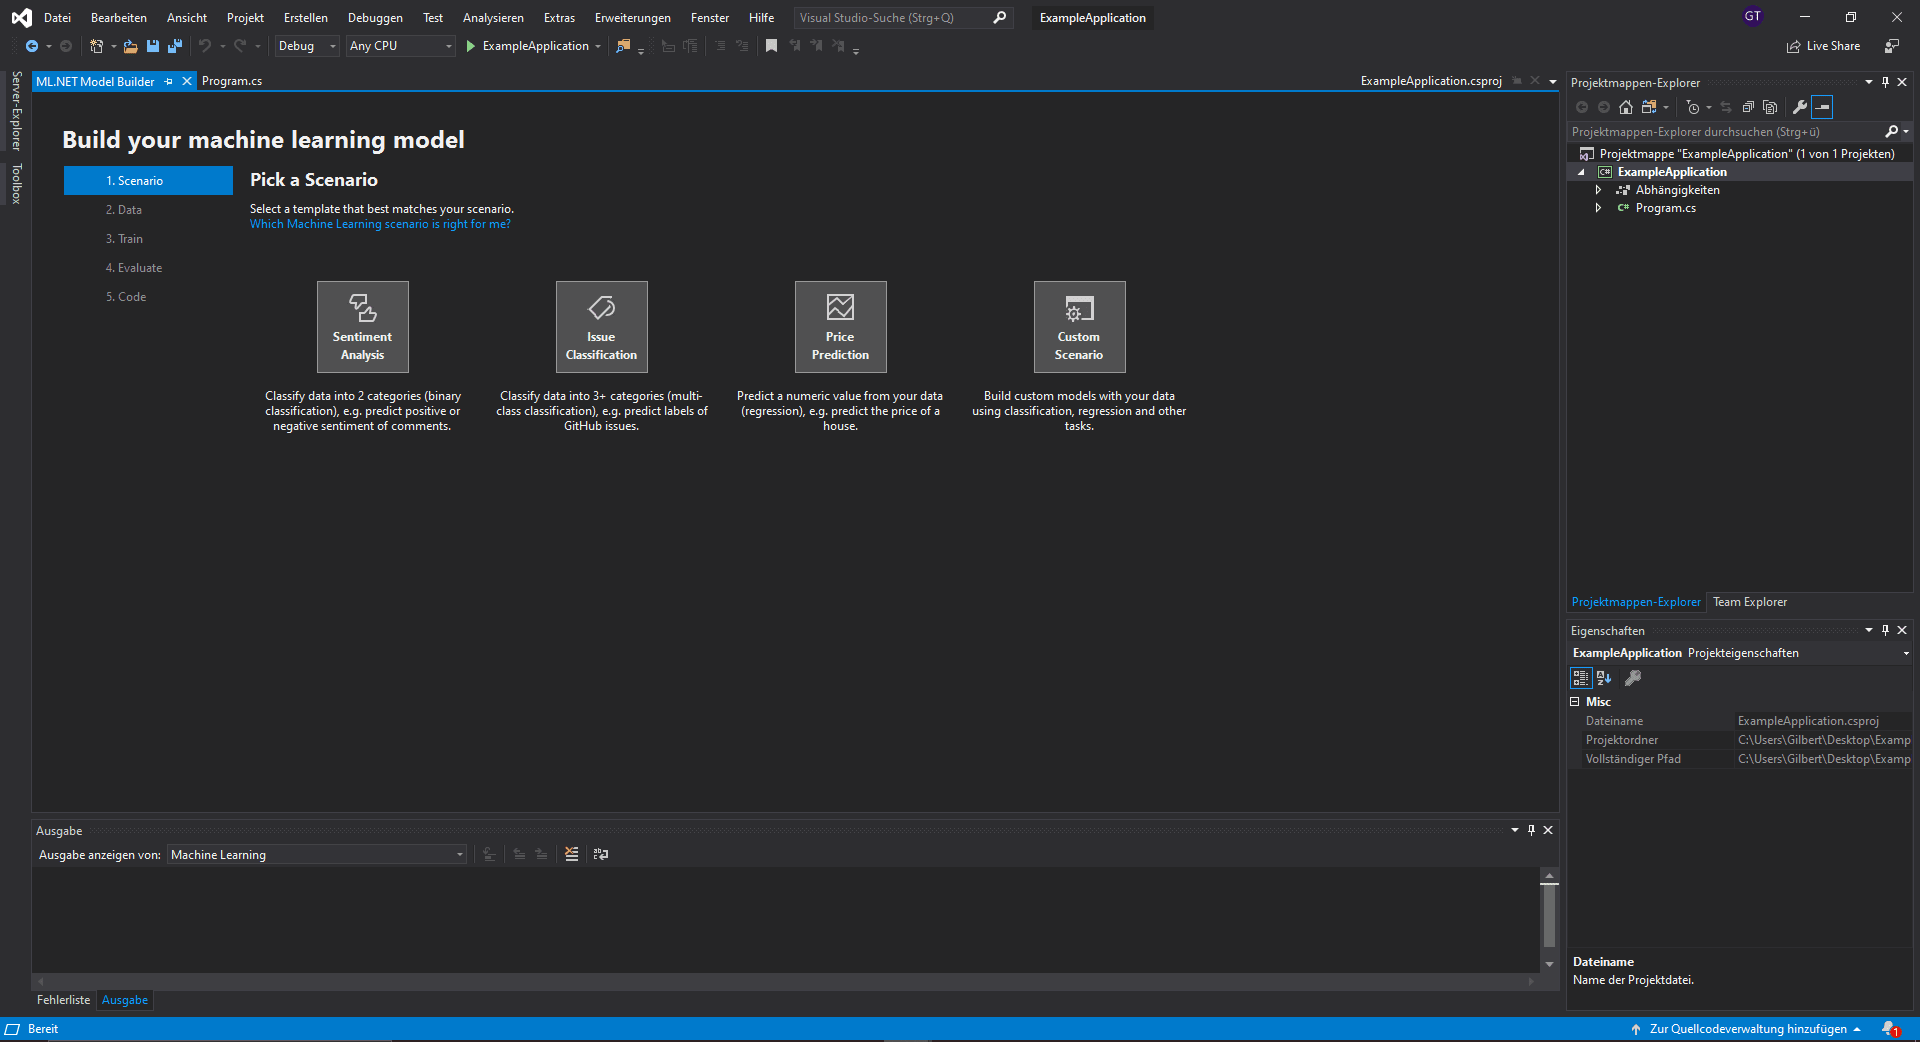
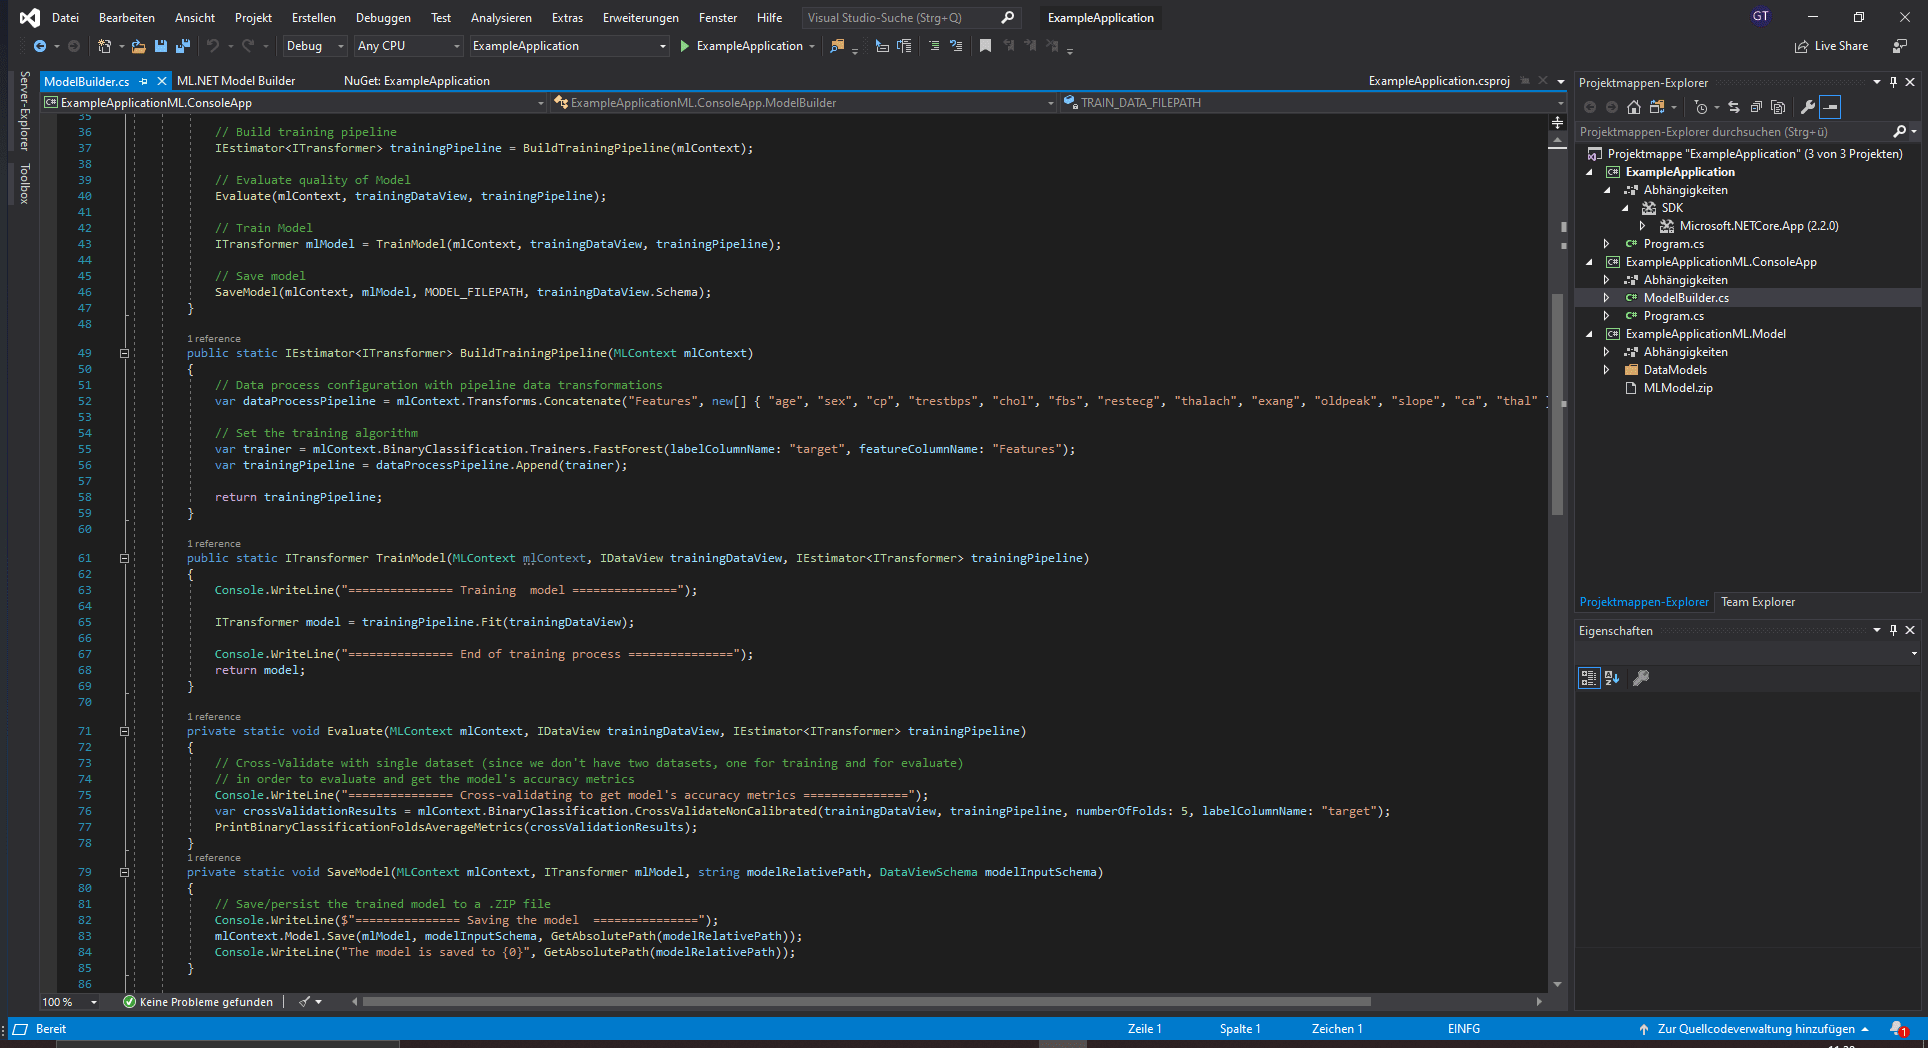
For information about getting through all the individual steps, be sure to check out the official getting started tutorial. After you finish all the steps, the Model Builder will automatically generate the code.
Using a pre-trained Tensorflow model
Another great thing about ML.NET is that it allows us to use Tensorflow and ONNX models for inference. To use a Tensorflow model, you need to install Microsoft.ML.TensorFlow using NuGet. After installing the necessary package, you can load in a Tensorflow model using the model.LoadTensorFlowModel method. After that, you need to call the ScoreTensorFlowModel method and pass it the input and output layer names.
private ITransformer SetupMlnetModel(string tensorFlowModelFilePath)
{
    var pipeline = _mlContext.<preprocess-data>
           .Append(_mlContext.Model.LoadTensorFlowModel(tensorFlowModelFilePath)
                                               .ScoreTensorFlowModel(
                                                      outputColumnNames: new[]{TensorFlowModelSettings.outputTensorName },
                                                      inputColumnNames: new[] { TensorFlowModelSettings.inputTensorName },
                                                      addBatchDimensionInput: false));

    ITransformer mlModel = pipeline.Fit(CreateEmptyDataView());

    return mlModel;
}
For more information on using a Tensorflow Model in ML.NET, check out 'Run with ML.NET C# code a TensorFlow model exported from Azure Cognitive Services Custom Vision'.
Conclusion
ML.NET is a .NET package that allows you to create and use Machine Learning models inside .NET. In this article, you learned how to use ML.NET to create a Credit Card Fraud detection model.
That's all from this article. If you have any questions or want to chat with me, feel free to contact me via EMAIL or social media.