In this article, you'll learn how to create your own instance segmentation data-set and how to train a Detectron2 model on it. If you haven't already, I highly recommend you read my first article on Detectron2, which will give you a basic understanding of how Detectron2 works. As always, all the code covered in this article can be found on my Github.
Gathering data
Gathering image data is simple. You can either take pictures yourself using a camera or download images from the internet.
To build a robust model, you need pictures with different backgrounds, varying lighting conditions, and random objects in the background.
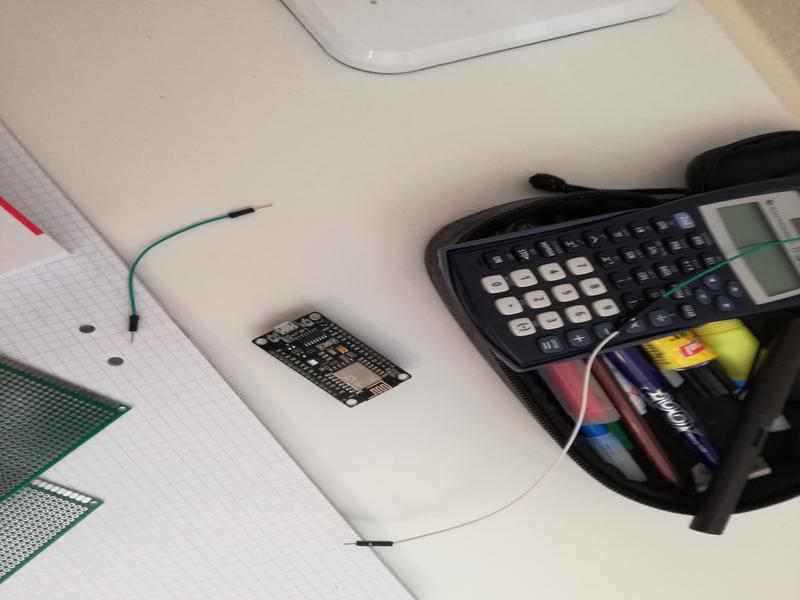
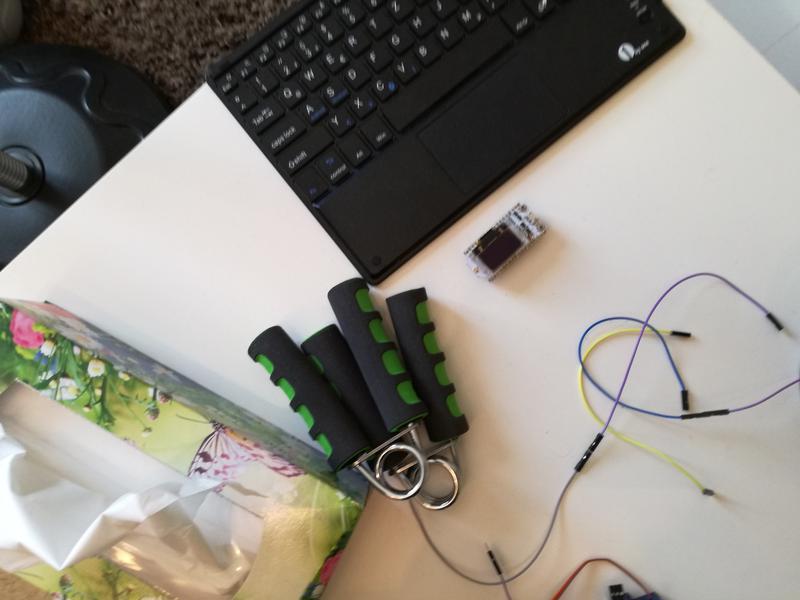
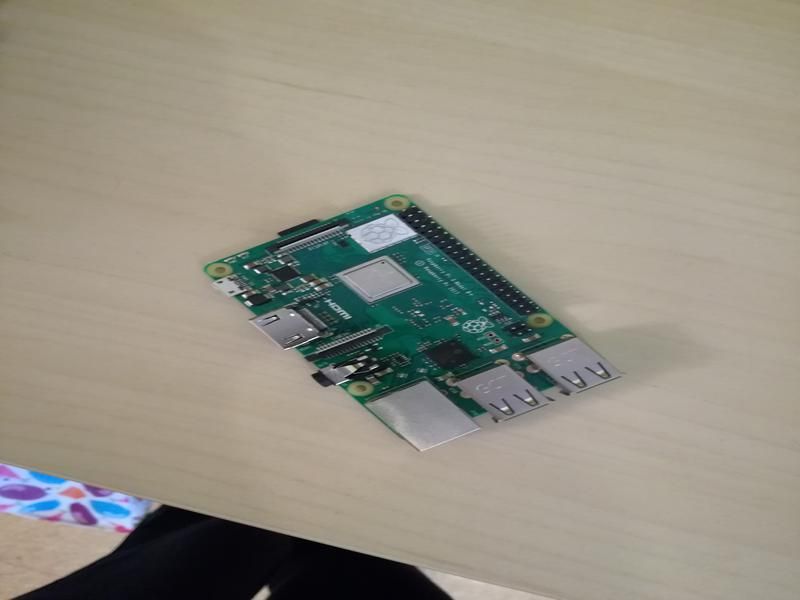
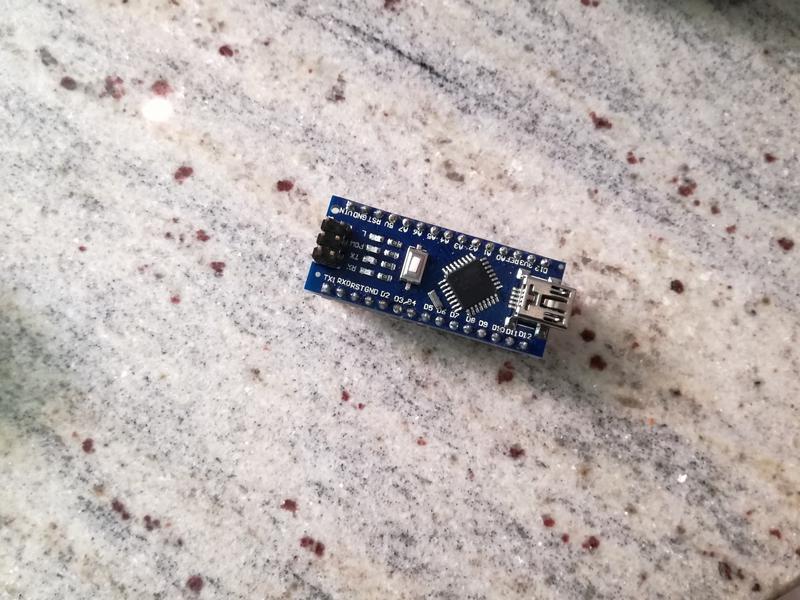
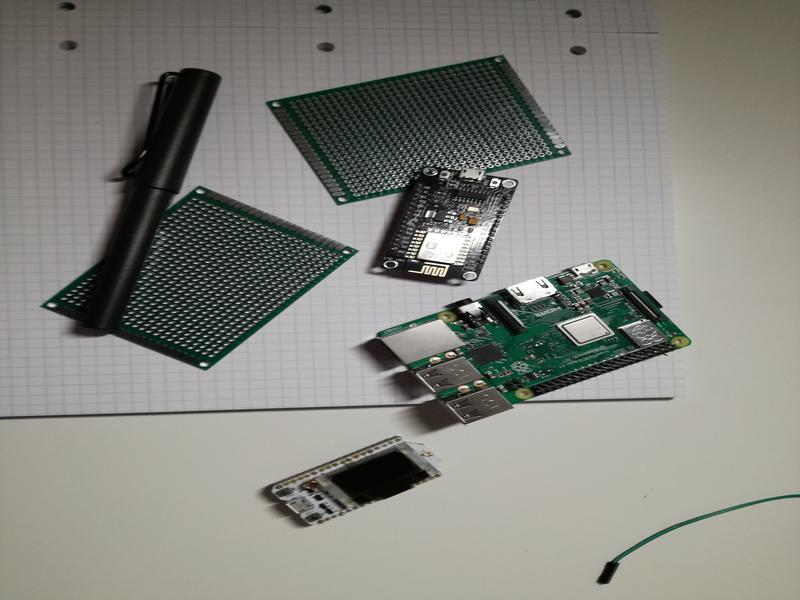
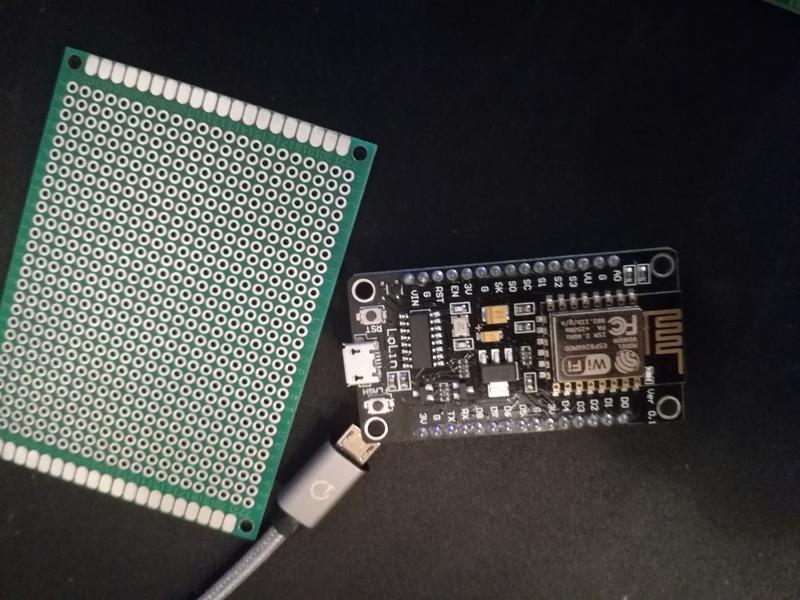
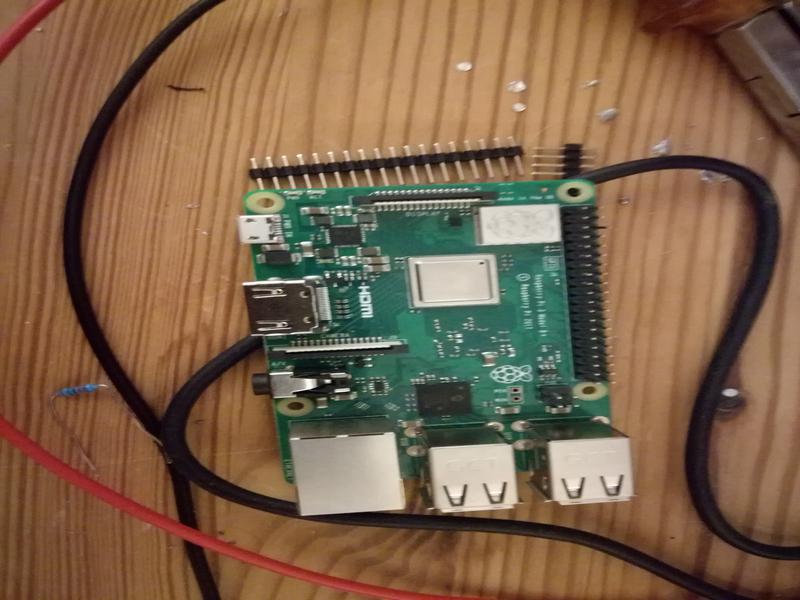
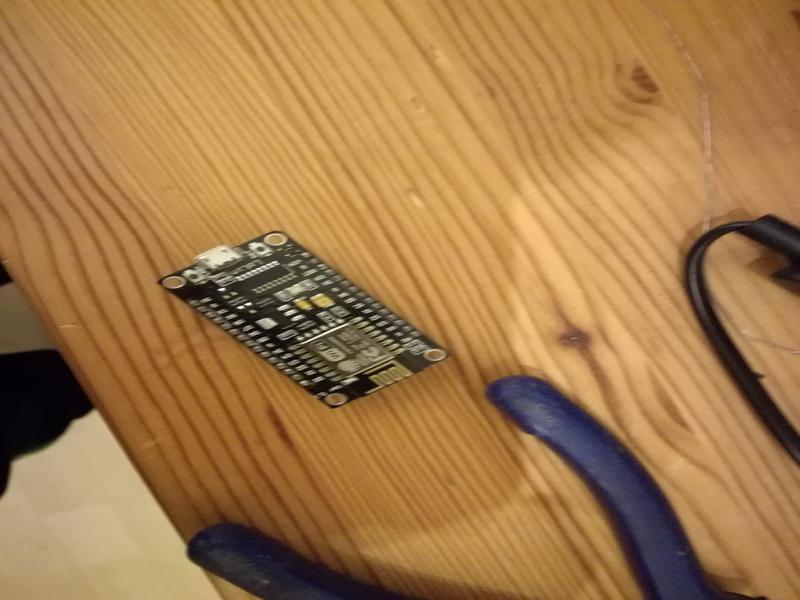
For my microcontroller data-set, I have four different objects (Arduino Nano, ESP8266, Raspberry Pi 3, Heltect ESP32 Lora). I took about 25 pictures of each microcontroller and 25 containing multiple microcontrollers using my smartphone. After taking the pictures, make sure to transform them to a resolution suitable for training (I used 800x600).
Labeling data
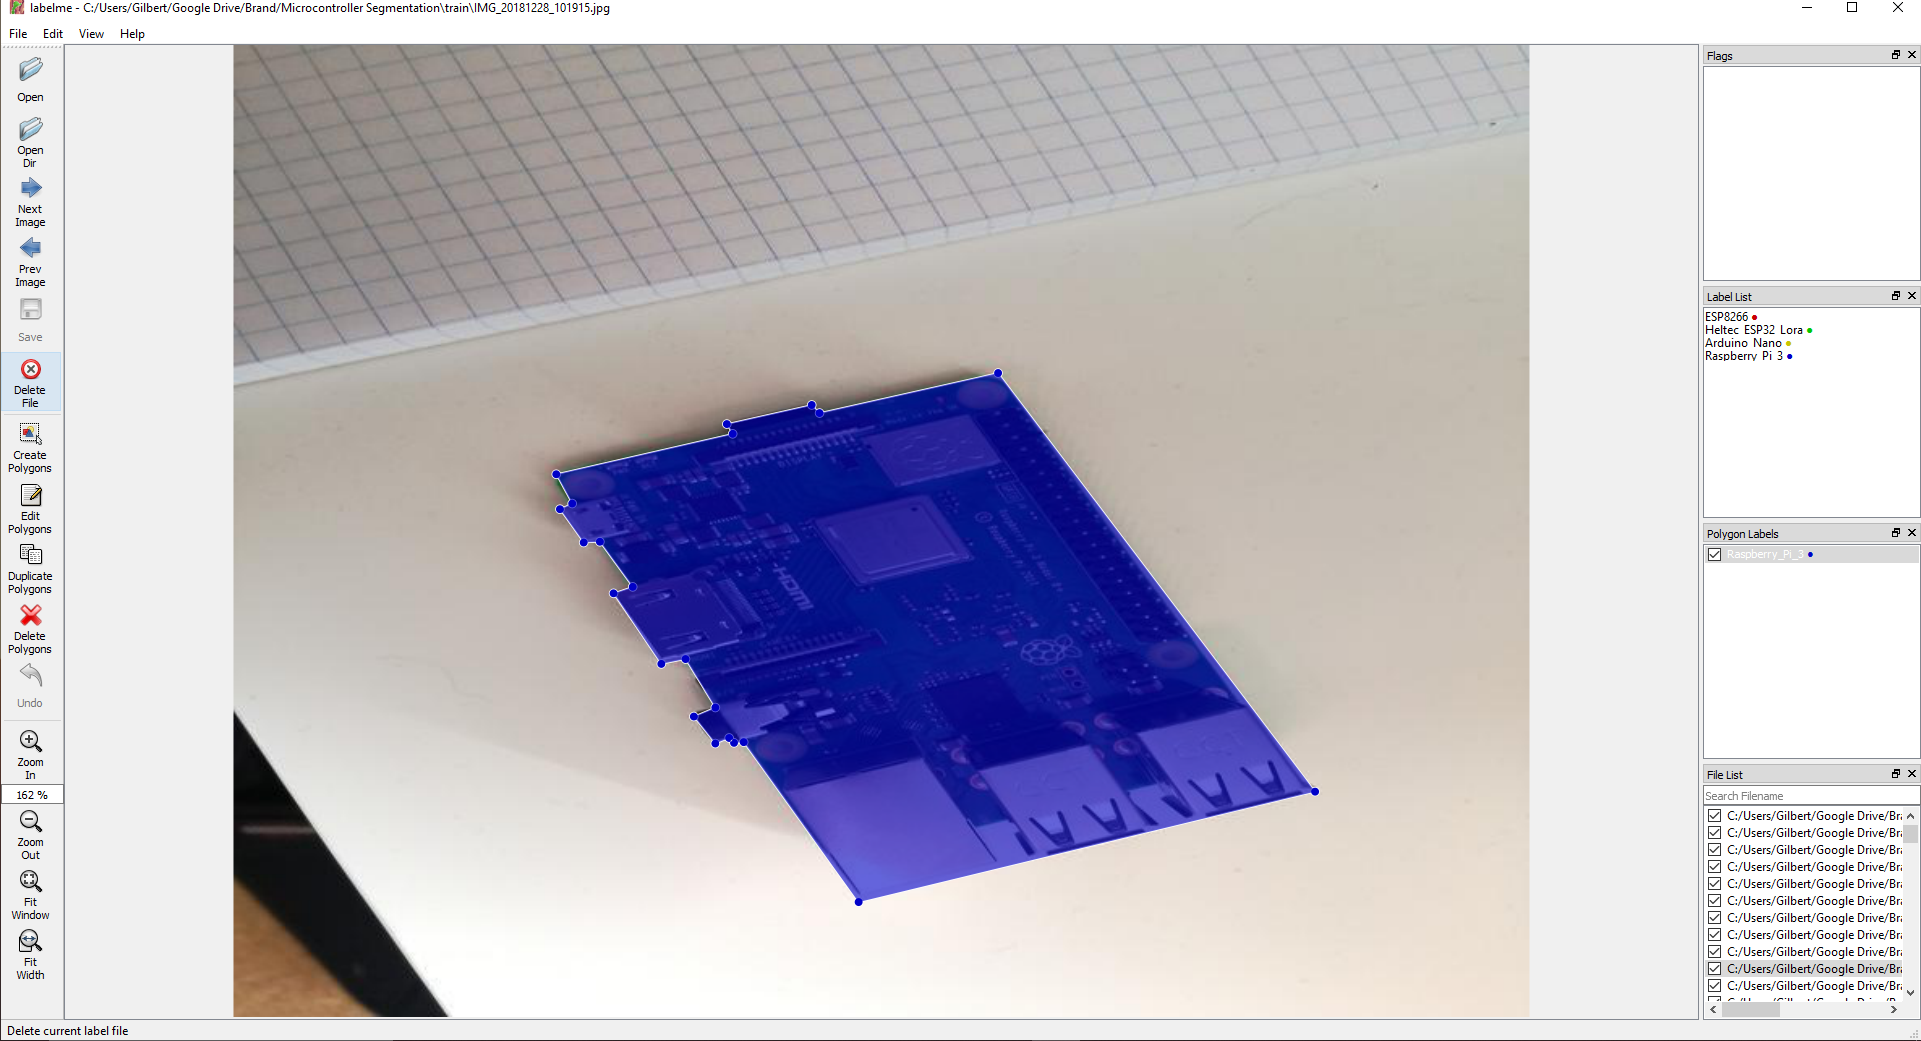
After gathering enough images, it's time to label them so your model knows what to learn. To label the data, you will need to use a labeling software.
For object detection, we used LabelImg, an excellent image annotation tool supporting both PascalVOC and Yolo format. For Image Segmentation / Instance Segmentation, there are multiple great annotation tools available, including VGG Image Annotation Tool, labelme, and PixelAnnotationTool. I chose labelme because of its simplicity to both install and use.

Labelme can be installed using pip:
pip install labelme
After installing Labelme, you can start it by typing labelme inside the command line. Now you can click on "Open Dir", select the folder with the images inside, and start labeling your images.
After you're done labeling the images, I'd recommend splitting the data into two folders – a training and a testing folder. Doing this will allow you to get a reasonable estimate of how good your model really is later on.
Now that you have the labels, you could get started coding, but I decided to also show you how to convert your data-set to COCO format, which makes your life a lot easier.
Convert your data-set to COCO-format
COCO has five annotation types: object detection, keypoint detection, stuff segmentation, panoptic segmentation, and image captioning.
Instance segmentation falls under type three – stuff segmentation. The stuff segmentation format is identical and fully compatible with the object detection format.
annotation{
	"id": int,
	"image_id": int,
	"category_id": int,
	"segmentation": RLE or [polygon],
	"area": float,
	"bbox": [x,y,width,height],
	"iscrowd": 0 or 1,
}

categories[{
	"id": int,
	"name": str,
	"supercategory": str,
}]
We can convert the JSON files created by labelme to COCO using the labelme2coco.py file created by Tony607.
python labelme2coco.py train train.json
python labelme2coco.py test test.json
Registering the data-set
If you want to use a custom data-set with one of detectron2's prebuilt data loaders, you will need to register your data-set, so Detectron2 knows how to obtain the data-set.
As described in the last article, you have two options here. Which one you use will depend on what data you have. In the end, both will give you the same results.
Custom method (Labelme format)
If your data-set isn't in COCO format, you have to write a method that returns a list of dictionaries with the needed information for Detectron2 to obtain the data.
For my microcontroller segmentation data-set, this method looks as follows:
import os
import numpy as np
import json
from detectron2.structures import BoxMode

def get_microcontroller_dicts(directory):
    classes = ['Raspberry_Pi_3', 'Arduino_Nano', 'ESP8266', 'Heltec_ESP32_Lora']
    dataset_dicts = []
    for filename in [file for file in os.listdir(directory) if file.endswith('.json')]:
        json_file = os.path.join(directory, filename)
        with open(json_file) as f:
            img_anns = json.load(f)

        record = {}

        filename = os.path.join(directory, img_anns["imagePath"])

        record["file_name"] = filename
        record["height"] = 600
        record["width"] = 800

        annos = img_anns["shapes"]
        objs = []
        for anno in annos:
            px = [a[0] for a in anno['points']]
            py = [a[1] for a in anno['points']]
            poly = [(x, y) for x, y in zip(px, py)]
            poly = [p for x in poly for p in x]

            obj = {
                "bbox": [np.min(px), np.min(py), np.max(px), np.max(py)],
                "bbox_mode": BoxMode.XYXY_ABS,
                "segmentation": [poly],
                "category_id": classes.index(anno['label']),
                "iscrowd": 0
            }
            objs.append(obj)
        record["annotations"] = objs
        dataset_dicts.append(record)
    return dataset_dicts

from detectron2.data import DatasetCatalog, MetadataCatalog
for d in ["train", "test"]:
    DatasetCatalog.register("microcontroller_" + d, lambda d=d: get_microcontroller_dicts('Microcontroller Segmentation/' + d))
    MetadataCatalog.get("microcontroller_" + d).set(thing_classes=['Raspberry_Pi_3', 'Arduino_Nano', 'ESP8266', 'Heltec_ESP32_Lora'])
microcontroller_metadata = MetadataCatalog.get("microcontroller_train")
COCO format
If your data-set is in COCO format, the whole process gets a lot simpler. Instead of needing to write a custom method, you only need to call the register_coco_instances method and pass it the data-set name, the path to the JSON file, and the image directory path.
from detectron2.data.datasets import register_coco_instances

for d in ["train", "test"]:
    register_coco_instances(f"microcontroller_{d}", {}, f"Microcontroller Segmentation/{d}.json", f"Microcontroller Segmentation/{d}")
Training the model
Training the model works just the same as training an object detection model. The only difference is that you'll need to use an instance segmentation model instead of an object detection model.
from detectron2.engine import DefaultTrainer
from detectron2.config import get_cfg
cfg = get_cfg()
cfg.merge_from_file(model_zoo.get_config_file("COCO-InstanceSegmentation/mask_rcnn_R_50_FPN_3x.yaml"))
cfg.DATASETS.TRAIN = ("microcontroller_train",)
cfg.DATASETS.TEST = ()
cfg.DATALOADER.NUM_WORKERS = 2
cfg.MODEL.WEIGHTS = model_zoo.get_checkpoint_url("COCO-InstanceSegmentation/mask_rcnn_R_50_FPN_3x.yaml")
cfg.SOLVER.IMS_PER_BATCH = 2
cfg.SOLVER.BASE_LR = 0.00025
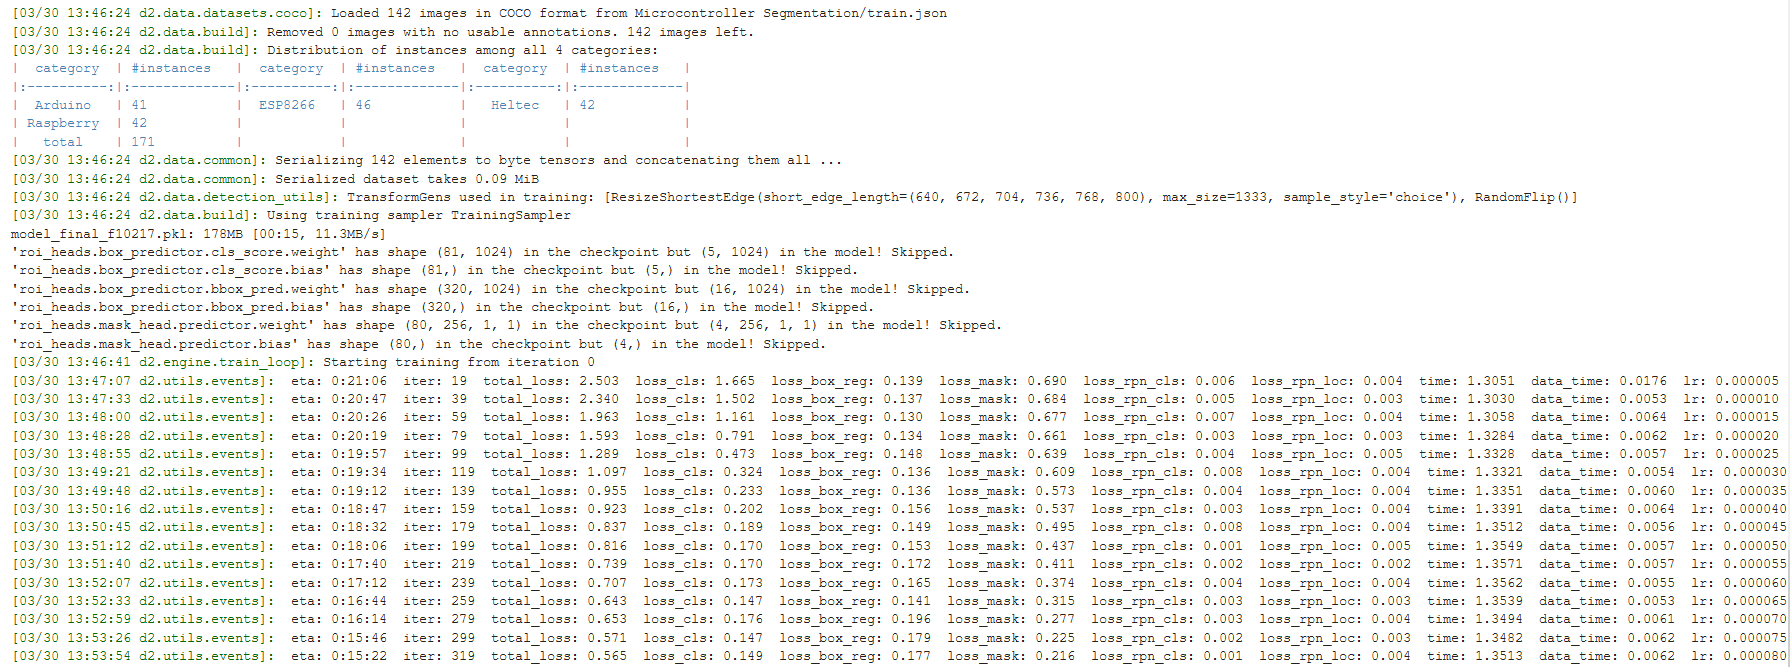
cfg.SOLVER.MAX_ITER = 1000
cfg.MODEL.ROI_HEADS.NUM_CLASSES = 4
os.makedirs(cfg.OUTPUT_DIR, exist_ok=True)
trainer = DefaultTrainer(cfg)
trainer.resume_or_load(resume=False)
trainer.train()
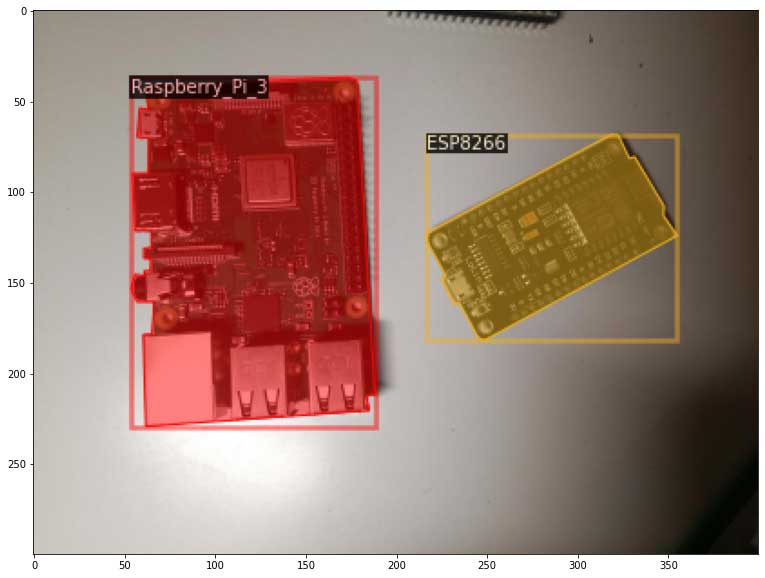
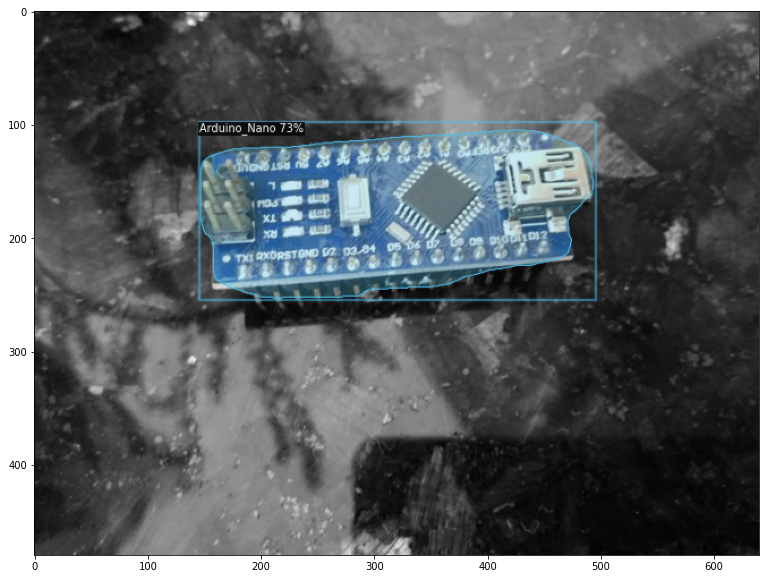
Using the model for inference
After training, the model automatically gets saved into a pth file. This file can then be used to load the model and make predictions.
For inference, the DefaultPredictor class will be used instead of the DefaultTrainer.
from detectron2.utils.visualizer import ColorMode

cfg.MODEL.WEIGHTS = os.path.join(cfg.OUTPUT_DIR, "model_final.pth")
cfg.MODEL.ROI_HEADS.SCORE_THRESH_TEST = 0.5
cfg.DATASETS.TEST = ("microcontroller_test", )
predictor = DefaultPredictor(cfg)


dataset_dicts = get_microcontroller_dicts('Microcontroller Segmentation/test')
for d in random.sample(dataset_dicts, 3):
    im = cv2.imread(d["file_name"])
    outputs = predictor(im)
    v = Visualizer(im[:, :, ::-1],
                   metadata=microcontroller_metadata,
                   scale=0.8,
                   instance_mode=ColorMode.IMAGE_BW   # remove the colors of unsegmented pixels
    )
    v = v.draw_instance_predictions(outputs["instances"].to("cpu"))
    plt.figure(figsize = (14, 10))
    plt.imshow(cv2.cvtColor(v.get_image()[:, :, ::-1], cv2.COLOR_BGR2RGB))
    plt.show()
Conclusion
That's all from this article. If you have any questions or want to chat with me, feel free to contact me via EMAIL or social media.